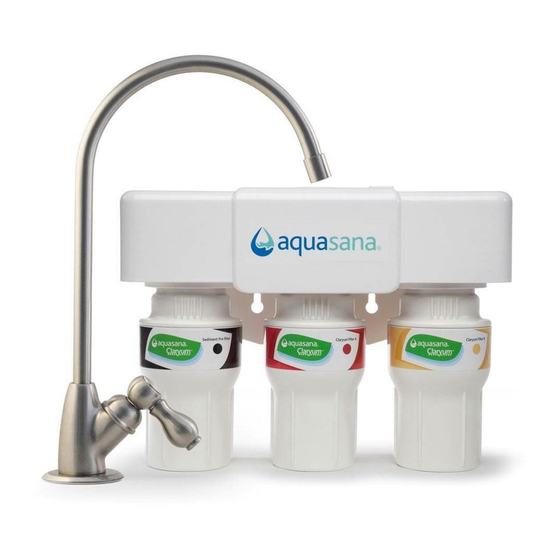
Aquasana AQ-5300.56 Instrukcja obsługi - Strona 4
Przeglądaj online lub pobierz pdf Instrukcja obsługi dla Systemy filtracji wody Aquasana AQ-5300.56. Aquasana AQ-5300.56 9 stron. Under sink

4
INSTALLATION STEPS
2
Assemble Dedicated Faucet
3
A. Slide rubber washer onto dedicated
faucet and insert into drilled hole.
B. From underneath the sink, slide
faucet spacer onto dedicated faucet.
C. Slide lock washer onto dedicated
faucet.
D. Tighten faucet nut to secure faucet
to sink.
Connect Dedicated Faucet
4
A. Slide the chrome nut onto the
poly tubing, followed by the
white plastic collar.
B. Press the plastic tube insert into
the end of the poly tubing.
C. Press the poly tubing against
the faucet base, and slide the
chrome nut and plastic collar up
to the threads of the faucet. Use
wrench to tighten.
NOTE: DO NOT over tighten.
A
B
C
D
B
A
C
5
Install System Manifold
A. Select a location under the sink that is at
least 12" from the bottom of the cabinet.
B. Use mounting holes located on the back
of the system manifold to mark wall
screw placements with pencil.
AQ-5200: 65mm • AQ-5300: 98mm • AQ-5300+: 99mm
C. Use a 7/32" drill bit to drill holes for plastic anchors. Carefully tap the
plastic anchors into the drilled hole with hammer.
D. Mount system manifold to the wall with screws.
E. Pull the protective plastic strip from battery compartment. LED will flash
red and beep 5 times to indicate correct battery installation.
INSTALLATION STEPS
5
NOTE: Select a location
that allows easy access
to cold water supply and
filter replacing.
12" min
