Aquasana EQ-OPTM-X Instrukcja obsługi - Strona 4
Przeglądaj online lub pobierz pdf Instrukcja obsługi dla Systemy filtracji wody Aquasana EQ-OPTM-X. Aquasana EQ-OPTM-X 10 stron. Whole house water filter

4
INSTALLATION STEPS
NOTE: DO NOT use pipe solvent (dope), pipe dope may cause damage to plastic fittings.
DO NOT over-tighten. DO NOT install after the water heater or on the hot water line.
Components and installation will vary.
1
Select Location
1. Pick an appropriate installation location. Unit must be installed in an area
where the main water line enters your home, before connecting
to the water heater.
2. Turn off the main water source prior to installation. Drain water from
lines to relieve pressure by turning on a faucet inside your home.
2
Assemble Tank
1. Install Drain Valve
assembly into Vertical
Elbow using
the threaded
connection
& Plumber's Tape.
2. Connect the Flow
Meter Assembly to
the Vertical Elbow.
The Flow Meter
should be connected
on the outlet side
(right side) at the
bottom of the tank.
3. Connect the Bypass
Manifold to Flow
Meter Assembly.
O U T
IN
NOTE: Flow
direction arrows
on bypass are
incorrect for this
filter application.
Plumb unit
opposite of
arrows.
4. Connect the
Connectors that are
O U T
most convenient to
IN
your system (Straight
or Angled) to the
Bypass Manifold.
5. Connect the Vertical Elbow
to the Cap Assembly on
the bottom of the Filter
Housing. Plugged
fittings should
be installed on
O U T
IN
the right side.
6. Connect ¾" PEX
Plumbing to Drain
Valve Assembly. PEX
O UT
NOT PROVIDED.
IN
7. Install 3 AAA batteries to the
Umbrella Cap; connect to Power
Supply. BATTERIES NOT PROVIDED.
3
COPPER PIPES ONLY (proceed to Step 4 for PVC Pipes)
When installing on metallic
plumbing, ensure you take
the following precautions.
Securely install two (2)
grounding clamps and a #4
copper wire (not included)
across the location where
the system will be installed.
Tightly clamp at both ends,
as shown in the illustration.
ELECTRICAL SHOCK HAZARD
Prior to installation on metallic plumbing, securely install two grounding clamps and a #4 copper wire
per installation instructions. Failure to follow these instructions can result in death or electric shock.
4
Install Shut-off Valve and Ensure Spacing
1. Using a pipe cutter, cut into the main water supply line to install the shut-
off valve.
2. Loosely fit shut-off valve to calculate proper spacing of components.
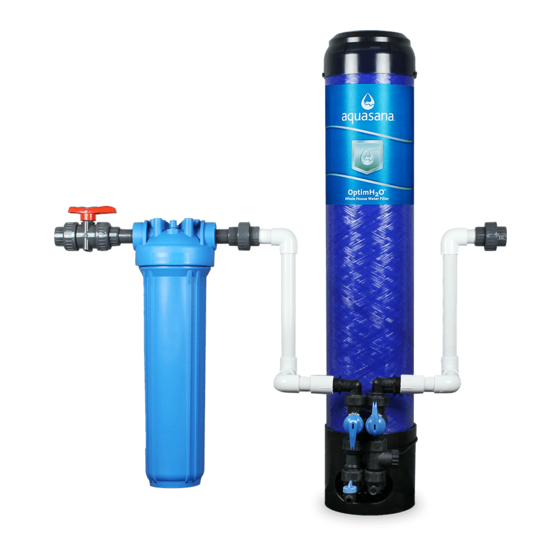
3. Measure distance for Pre-Filter, OptimH2O tank, and optional add-ons
(Salt-Free Conditioner and UV) and mark pipe accordingly.
If you're installing additional add-ons make sure to read through those
separate installation manuals prior to fully installing your complete system.
Ensure proper spacing to fit Pre-Filter,
OptimH2O Tank, and any optional add-
ons (Salt-Free Conditioner and UV).
Incoming
water supply
INSTALLATION STEPS
Ground Wire
Ground
Clamp
WARNING
Outgoing
water supply
5
Ground
Clamp
