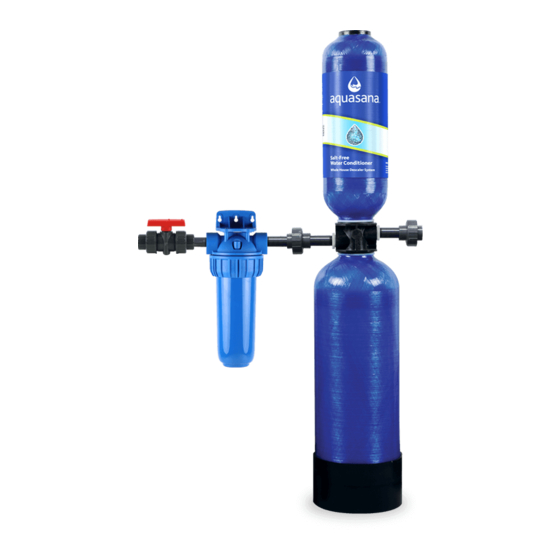
Aquasana EQ-AST-WH Instrukcje instalacji - Strona 2
Przeglądaj online lub pobierz pdf Instrukcje instalacji dla Dozownik wody Aquasana EQ-AST-WH. Aquasana EQ-AST-WH 5 stron. Whole house salt-free water conditioner
Również dla Aquasana EQ-AST-WH: Instrukcja obsługi (12 strony), Instrukcja obsługi (12 strony)

Safe, effective scale prevention
without the use of chemicals or salt.
Direction of flow
26"
Shut-off valve
5-micron pre-filter
Contents
EQ-AST-WH
EQ-AST-WH-C
5-micron pre-filter unit
—OR—
Model: EQ-PRE34PTW
All installation components included.
EQ-AST-WH
48"
These items included with standalone systems.
3
1
2
6
4
Install kit:
1) filter housing wrench
2) ball type shut off valve
Replace:
3) support bracket
EQ-304
4) 3/4"x3" nipples (4)
(4-pack)
5) unions (2)
6) hose adaptor
Installation
1. KEEP THE UNIT IN AN UPRIGHT POSITION AT ALL TIMES.
2. Remove the red shipping caps from the inlet & outlet ports on the main housing.
3. Precondition the unit by flushing: It is very important that this system is flushed properly
prior to final installation. Using the supplied adapter, connect a garden hose to the inlet
port so that the water will flow into the system and out of the outlet port. Slowly turn on
the water and allow the cloudy water to flow from the outlet into a bucket or drain. Flush
the NAC tanks for 5-10 minutes. Once the unit has been properly flushed, be sure the white
washers are properly set inside the inlet and outlet ports. Disconnect it from the garden hose
and position it for final installation.
4. Turn off main source water supply prior to installation.
5. Install the unit to the main water supply using the supplied components. Do not over tighten
fittings, as this may cause leakage and broken fittings. Do NOT use pipe dope. The use of
pipe dope voids the warranty. You may use NSF-certified pipe primer, glue and teflon tape.
Leave two-three threads exposed and do not exceed seven layers of teflon tape. More than
seven layers will cause the nipple to crack and leak.
6. IMPORTANT: The inlet piping assembly (valve, pre-filter, main filter unit, union and nipples)
must be firmly braced and supported.
7. Once installation is complete, slowly turn the water on and inspect for leaks.
8. Once the unit is installed and checked for leaks, open the water faucet closest to the
installed unit and allow water to run for 5-10 minutes for the final flushing period.
5
THIS UNIT MUST BE INSTALLED BY A
LICENSED PLUMBER TO VALIDATE THE WARRANTY
– check operating specifications before installing
