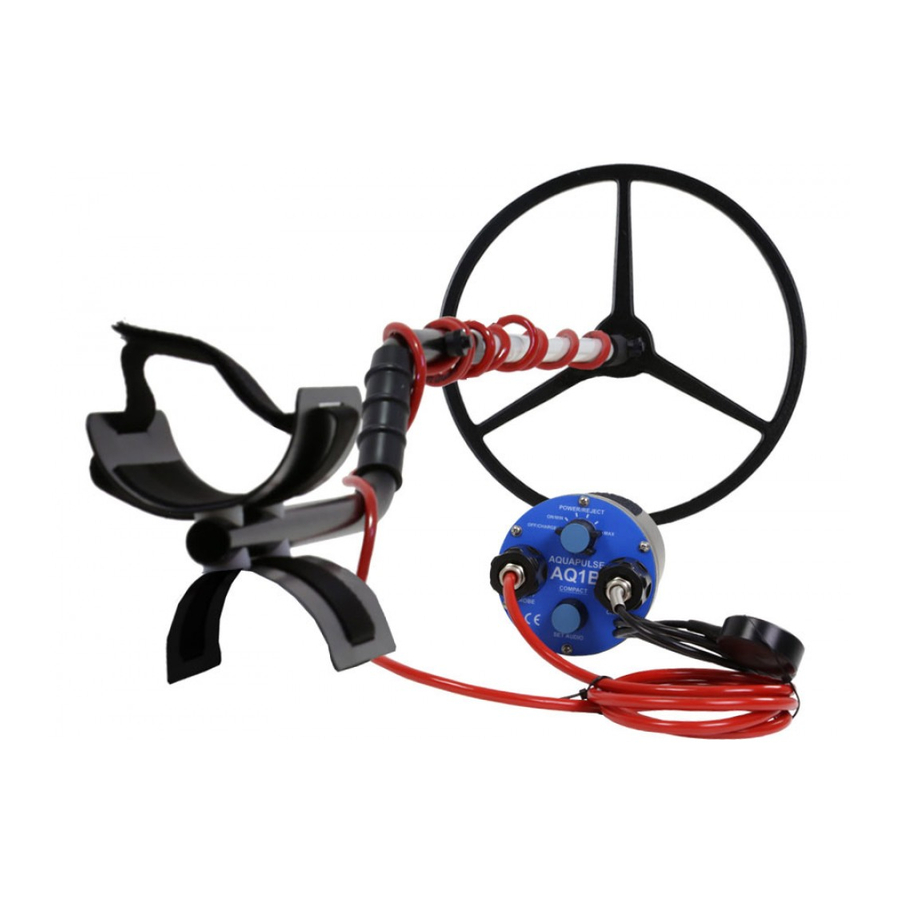
AQUASCAN INTERNATIONAL AQUAPULSE 1B Instrukcja obsługi - Strona 4
Przeglądaj online lub pobierz pdf Instrukcja obsługi dla Wykrywacz metali AQUASCAN INTERNATIONAL AQUAPULSE 1B. AQUASCAN INTERNATIONAL AQUAPULSE 1B 18 stron. Aquapulse 1bunderwater metal detector

AQ1B Underwater Metal Detector User Manual
INITIAL TESTING OF YOUR AQ1B DETECTOR:
1. Charging the batteries: -
The detector is supplied only partially charged and will require a full 14 hours
charging duration to bring the unit to a fully charged status. Plug the output lead from
the charger into the AUDIO & CHARGE socket on the control bulkhead. Please note
that this can only be inserted one way round due to the locating (polarising) pin.
N.B.
DO NOT ON ANY ACCOUNT PLUG THE CHARGER INTO THE LOOP
SOCKET AS DAMAGE MAY BE DONE TO THE ELECTRONICS
Plug the charger into the mains supply (100 – 250vAC). After running for an hour or
so the charger may get slightly warm to the touch. This is quite normal.
The batteries will not be damaged by being left on charge for a longer period than
necessary due to the controlled charge current (14hr rate). For maximum life it is
recommended not to give 'top-up' charges and to generally charge for no longer than
14 hours from the discharged state. If the batteries become fully discharged - due to
natural usage for the maximum operating period or through the unit accidentally being
left in the on state – the unit should be fully recharged as soon as possible to avoid
irreparable damage to the battery cells.
N.B.
DO NOT USE ANY OTHER BATTERY CHARGER THAN THE ONE
SUPPLIED AS DAMAGE TO THE BATTERY PACK MAY RESULT.
When the charge period has elapsed, disconnect the AC supply to the charger and
unplug the connector from the socket on the detector.
Plug in the connector on the search loop into the LOOP socket and screw down the
retaining collar. This should be good finger tightness only.
Note: This plug can only be inserted one way round due to the polarising
4. Plug the connector on the Bonephone (or headphone) lead into the PHONE &
CHARGE socket and screw down the collar as above. NB. For testing on land the
headphones – if available - are much easier to work with.
5. Hold the search loop well away from any metal and switch the unit on by rotating
the REJECT control to the MIN position. If a continuous sound is heard
immediately, the SET AUDIO control should be rotated anticlockwise until the
audio threshold is reached, this is indicated by a low frequency ticking sound in
the Bonephone. Alternatively, if the unit is initially silent, the control should be
turned clockwise to reach the audio threshold. The audio can be set so that a
normal slow ticking sound is heard, or alternatively set slightly below the
threshold so that operation is initially silent.
4
pin.
