Diamond 15352202S Instrukcja obsługi i konserwacji - Strona 9
Przeglądaj online lub pobierz pdf Instrukcja obsługi i konserwacji dla Urządzenia kuchenne Diamond 15352202S. Diamond 15352202S 16 stron.

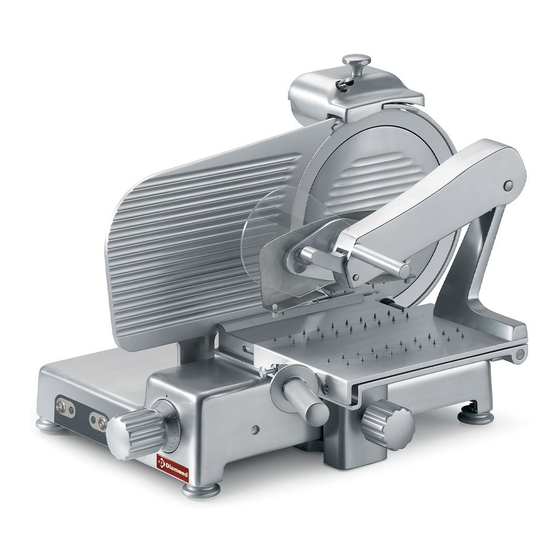
LEGEND:
1 - Cap
14 - Ring
2 - Bladeguard tie rod hand grip
15 - Cap hand grip
3 - Thickness gauge plane
16 - Goods presser hand grip
4 - Base
17 - Sliding plate
5 - Foot
18 - Goods presser handguard
6 - Push-button panel
19 - Plate hand grip
7 - Graduated hand grip
20 - Sliceguard
8 - Handguard
21 - Sliceguard hand grip
9 - Stem
22 - Thickness gauge plane cover
10 - Stem hand grip
23 - Thickness gauge plane cover hand grip
11 - Goods holder plate
24 - Blade
12 - Goods presser arm
25 - Food pusher
13 - Bladeguard
26 - Food pusher hand grip
15
1
14
2
13
25
3
12
8
4
16
11
6
10
7
9
5
8
26
25
17
16
Fig. n°30
24
20
23
21
22
26
25
17
19
14
4.2 - SAFETY DEVICES INSTALLED ON THE MACHINE
4.2.1 - Mechanical safety
As far as mechanical safety is concerned, the slicer described in this manual
responds to:
CEE 2006/42 machine directives.
-
Safety is made possible by the:
- bladeguard
(Fig. n°31 ref. n°1);
- ring
(Fig. n°31 ref. n°2);
- cap
(Fig. n°31 ref. n°3);
- goods presser
(Fig. n°31 ref. n°4);
- goods presser hand grip
(Fig. n°32 ref. n°5);
- handguard
(Fig. n°32 ref. n°6);
- Trolley transported only when thick-
ness gauge plane is at "0", at the end
of the run and towards operator side.
4.2.2 - Electrical safety
As far as electrical safety is concerned, the slicer described in this manual
responds to:
the CEE 2006/95 low tension directive;
-
the electromagnetic compatibility directive 2004/108.
-
12
The slicer is therefore provided with:
a microswitch on the bladecover that
-
causes the machine to stop in case of
the removal of the bladeguard tie rod,
and prohibits it from turning on if the
11
device is not closed (Fig. n°33);
3
2
4
6
1
Fig. n°31
5
6
Fig. n°32
5
Micro
Fig. n°33
15
