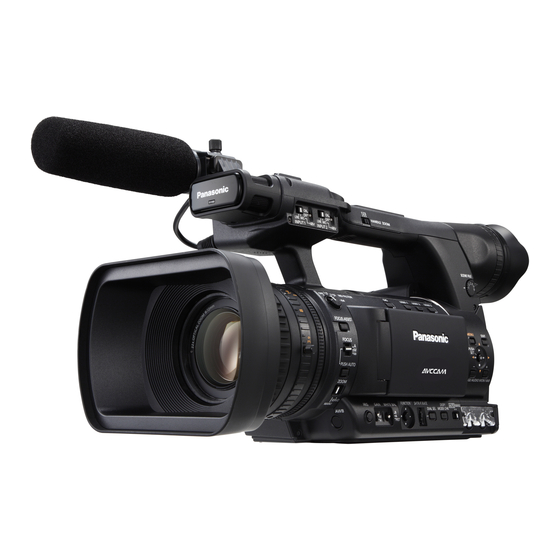
Panasonic AG-AC130A Series Podręcznik - Strona 5
Przeglądaj online lub pobierz pdf Podręcznik dla Kamera Panasonic AG-AC130A Series. Panasonic AG-AC130A Series 18 stron. Broadcast-grade camera recorder with 22x zoom lens and 2.2 megapixel u.l.t. image sensor
Również dla Panasonic AG-AC130A Series: Instrukcja obsługi (38 strony), Broszura (12 strony), Skrócona instrukcja obsługi (1 strony)

AUTO vs. MANUAL: In most situations, while you are still learning how to use the camera, AUTO
mode will get you decent-looking results most of the time. However, sometimes AUTO will produce
unexpected or unacceptible results, depending on your shooting conditions. As you become more
comfortable using the camera, you will find that more professional-looking results can be obtained by
setting some or all of these controls manually. Iris, focus, white balance and audio levels can each be
adjusted automatically or manually.
Shooting in Auto mode
1. Turn the camera on.
2. Set the <AUTO/MANU> switch to <AUTO>
3. Press the <START/STOP> button to start recording.
Press the <START/STOP> button again to stop recording.
AccessVision's cameras each come with a 64 GB SD card,
which holds about 4 hours 38 minutes of standard
definition (DV) footage, or 6 hours 32 minutes of high
definition (AVCHD) footage.
To display the amount of time recorded, press the
<COUNTER> button repeatedly until "CLIP" appears on
the upper left corner of the screen. Total recording time
remaining is shown under the clip counter.
Adjusting the iris
In AUTO, flashy subject matter may cause the iris to open and close erratically. Scenes which are
heavily backlit may also produce an unwanted exposure. Setting the exposure manually will eliminate
this.
1. Switch the <AUTO/MANU> switch to manual mode.
2. Press the <IRIS> button to switch to auto or manual
iris. AUTO IRIS: automatically adjusts the iris value.
MANUAL IRIS: manually adjusts lens aperture.
3. When manual iris is on, adjust the lens aperture by
turning the IRIS ring.
3
