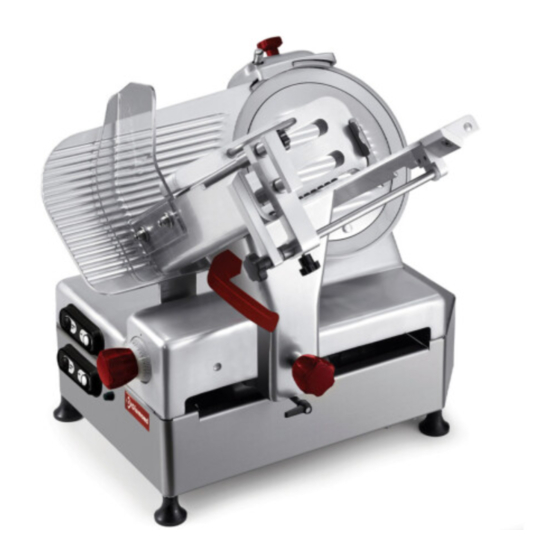
Diamond 330 Instrukcja użytkowania i konserwacji - Strona 5
Przeglądaj online lub pobierz pdf Instrukcja użytkowania i konserwacji dla Urządzenia kuchenne Diamond 330. Diamond 330 16 stron. Ce professional slicer

signs of damage, open packaging and check that all parts are included. Do not
overturn the package!! When handling the packed slicer, make sure the box is
lifted by the 4 corners (parallel to the ground).
CHAP. 2 - INSTALLATION
WARNING!
All operations must be carried out by
specialized personnel (Fig. n°9).
2.1 - UNPACKING
Remove straps from packaging (Fig. n°
10) 0)
d remove the cardboard box (h).
The package should contain:
(Fig. n°11)
a) machine on pallet (detail a);
b)
4 feet (detail b);
c) Instruction booklet (detail c);
d)
CE compliance certificate (detail d);
e) blade extractor (detail e).
Fig. n°9
h
Fig. n°10
a
b
d
c
e
Fig. n°11
6
2.2 - POSITIONING
Position the pallet, with the slicer, on a
flat surface and remove (a) the cap
from the slicer (Fig. n°12).
Turn the machine on its side (Fig. n°13)
and utilising the correct wrench pro-
vided unscrew the 4 nuts which secure
the slicer to the pallet. Remove the 4
washers and unscrew the 4 fastening
tie rods on the wooden pallet. Remove
the pallet and fasten the 4 feet provided
to the slicer. Finally, replace cap in its
original position.
Position the slicer in its final operating loca-
.
tion
The dimensions indicated in Tab. 1
(which vary depending on model) must
always be considered and taken into
account for when deciding on the final
location of the slicer. Slicer location
must be
sufficiently wide enough to
accommodate the slicer, level, dry,
smooth, robust, stable and at a height
of approximately 80 cm from the
ground and at least 20 cm from walls,
objects, shelves, etc. (Fig. n°14) to al-
low for sufficient room to operate the
slicer respecting and safeguarding op-
erator safety.
Furthermore, the machine must be lo-
cated in an environment with a maxi-
mum humidity of 75%, non-saline and
with a temperature ranging between
+5°C and +35°C; and in any event in
environments which conform to the
above specifications .
Make sure the graduated hand grip is in
position "0".
Check alignment of the blade-thickness
gauge by running a finger (Fig. n°16)
from the blade towards the thickness
gauge (never in the opposite direc-
tion).
Fig. n°12
Fig. n°13
20cm
20cm
20cm
20cm
~ 80cm
Fig. n°14
Fig. n°15
Fig. n°16
7
