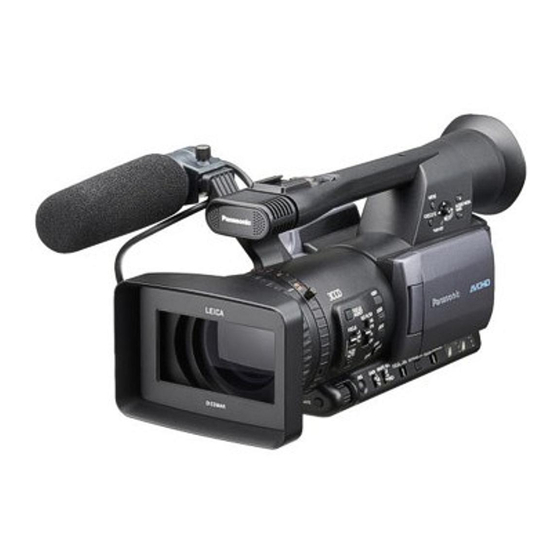
Panasonic AG-HMC150 Podręcznik użytkownika - Strona 18
Przeglądaj online lub pobierz pdf Podręcznik użytkownika dla Kamera Panasonic AG-HMC150. Panasonic AG-HMC150 35 stron. Avchd camcorder
Również dla Panasonic AG-HMC150: Broszura i specyfikacje (8 strony), Menu informacyjne (20 strony), Broszura i specyfikacje (12 strony), Broszura (16 strony), Instrukcja obsługi produktu (22 strony), Podstawowe instrukcje (20 strony)

direction to select the thumbnail of the video you'd
like to view by pressing down on the "operational
lever"
Playback. While a clip is being
played, you can use the
"operation lever" to pause it by
pressing down, play by pushing
up, stop by pushing down, or
fast forward or reverse by
pushing the control to the left
or right.
Playback settings. ere are various playback
settings you can adjust in the PB FORMAT menu,
see page 63 in the manual for more details on this.
Playback functions. A variety of playback functions
are available and described starting on page 69 of the
manual.
Card and clip information. You can view
information about the card by pressing the MENU
button and selecting CARD FUNCTIONS from the
menu. Choosing CARD STATUS will provide card
status information, while choosing CLIP
PROPERTY will display information about the
currently selected clip. Press the MENU button again
to return to the thumbnail screen.
Getting out of PB mode. If you press the START/
STOP button in PB mode, the CAM mode will be
activated, and shooting will start.
umbnail and clip display. e thumbnail view
provides a lot of information about the clips (more
that you really wanted to know).
1. umbnail display status: the types of clips being
displayed (you can set the kind of clips you want
to see, setting this is described in the manual on
page 65).
Introduction to the Panasonic AG-HMC150 AVCHD camcorder (rough draft)
2. Repeat playback indicator, displayed during repeat
playback (see manual, p. 63).
3. Card status display, displays status of the memory
card installed in the camera.
4. Battery capacity remaining.
5. A yellow cursor (yellow outline around a frame)
indicates the currently selected thumbnail.
6. Recording mode display indicates the recording
mode if the currently highlighted clip has been
recorded in PH mode.
7. Recording format display indicates the recording
format of the currently selected clip.
8. Displays the duration of the currently selected clip.
9. Displays time code at start of clip recording/user
information at start of clip recording/time of
recording/date of recording/date and time of
recording, according to the con guration of the
menu settings (see page 65 in the manual).
10.e clip number is displayed in order of recording
(up to 1,000 clips). Numbers of clips that cannot
be played back (e.g. clips of different recording
formats) are displayed in red. To play clips
displayed in red, set the PB format in the settings
menu PLAY SETUP screen to the appropriate
recording format (see page 63 in the manual for
details).
11. Write protect indicator, will show a little key icon
if the clip is write protected. Displayed on
protected clips.
12. Indicators: M: indicates that a clip has a shot
mark (see page 62 in the manual for information
about shot marks); I: indicates that the clip has an
index attached (see page 66 of the manual for
information about indexes); >>> is displayed on
clips on which resume playback setting have been
applied.
Protecting clips. You can protect clips so that that
they can't be deleted off the card, this process is
described on page 66 of the manual.
Deleting clips. You should probably avoid deleting
clips in the eld, it's just too risky in the heat of
production to make decisions in terms of what to
keep and what to delete. is is better done in the
editing room. But if you really need to delete a clip,
this process is described on page 66 of the manual.
http://kino-eye.com/dvb/
18 / 35
