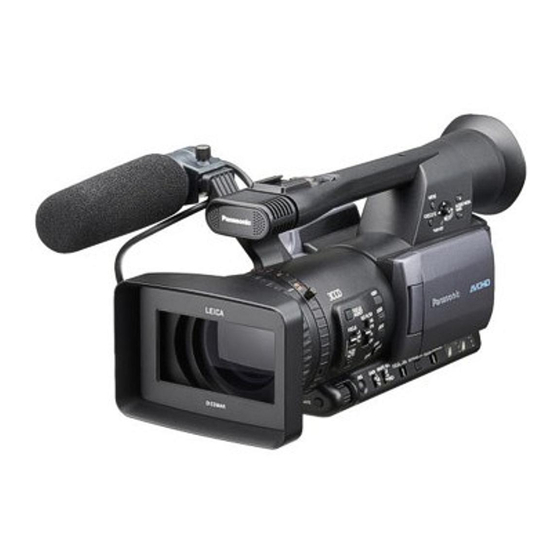
Panasonic AG-HMC150 Podręcznik użytkownika - Strona 4
Przeglądaj online lub pobierz pdf Podręcznik użytkownika dla Kamera Panasonic AG-HMC150. Panasonic AG-HMC150 35 stron. Avchd camcorder
Również dla Panasonic AG-HMC150: Broszura i specyfikacje (8 strony), Menu informacyjne (20 strony), Broszura i specyfikacje (12 strony), Broszura (16 strony), Instrukcja obsługi produktu (22 strony), Podstawowe instrukcje (20 strony)

5. Make sure that the
audio inputs are on the
right settings depending
if you are using an
external microphone or
other source or using the
internal microphones. Set
Mic/Line switch (on the
front of the camera next to the XLR connectors)
when using external audio source. When using
external microphones that require phantom power,
set the MIC POWER switches (on the side of the
camera behind the LCD panel) to ON.
6. Set routing of Ch1 and Ch2 audio on the side of
the camera (you can choose INT mic or EXT input
to be fed into Ch1 and Ch2. If you are starting out
using the camera mic, then make sure that that Ch. 1
audio is set to INT(L) and Ch. 2 audio is set to INT
(R), otherwise, you will typically set this to route
(external) Input 1 to Ch. 1 (Left)
and (external) Input 2 to Ch. 2
(Right).
7. Turn on the camera by pushing
down the white button tab while
sliding the on/off switch to the ON
position. e mode lamp on the
back of the camera (CAM) will light up red
(CAMERA mode) indicating that the camera is now
in the recording pause mode.
8. Verify that the battery has enough charge to start
shooting (indicated in the view nder and LCD
display, if you don't see this displayed in the
view nder, push the LCD button on the side of the
camera behind the LCD panel. e level of battery
change shown below, left to right, full to empty:
9. Check and adjust your audio levels. Use the
audio control knobs to adjust the recording level of
the audio input. e meter on the LCD will display
the peal levels of your audio. You want to make sure
the meters show you lots of white squares for a strong
enough signal, otherwise your audio will be lost in
the "noise oor." Dialog should be right around
Introduction to the Panasonic AG-HMC150 AVCHD camcorder (rough draft)
the levels reach 0dB you've hit the digital "brick wall."
The camera has a Limiter instead of Automatic Gain
Control, so even on automatic you have to set the
audio levels. e limiter will take care of excessive
peaks. is results in better sound, so it's worth the
effort. You will not hear the "pumping" or
"breathing" you hear with the Automatic Gain
Control common on other cameras. Make sure that
the limiter is not disabled in the menu
(see manual).
10. Monitor audio with
headphones. ere's a headphone
jack on the back of the camera. e
monitor volume control is on the
side of the view nder.
11. Begin shooting by
pressing the red record
button. e red "REC" indicator on the
LCD will con rm you're actually
recording. Stop shooting by pressing the
red button again.
Additional tips
1. To zoom in and out use
the rocker control located on
the top right of the camera. If
this does not affect the zoom,
check the the "Manual /
Servo" switch located on the
front of the camera. Never
move the zoom ring manually
when the switch is set to
"Servo" as it may damage the
internal gears.
2. Never point the camera directly into the sun.
3. Use the ND Filter when lming outside on bright
sunny days. You want to avoid shooting at small
apertures like 11 or 16, so the ND comes in handy.
At the very smallest apertures refraction effects reduce
the sharpness of the image.
http://kino-eye.com/dvb/
-12dB which is
indicated by the line
on the meter display.
Some peaks above
-12dB are OK. When
4 / 35
