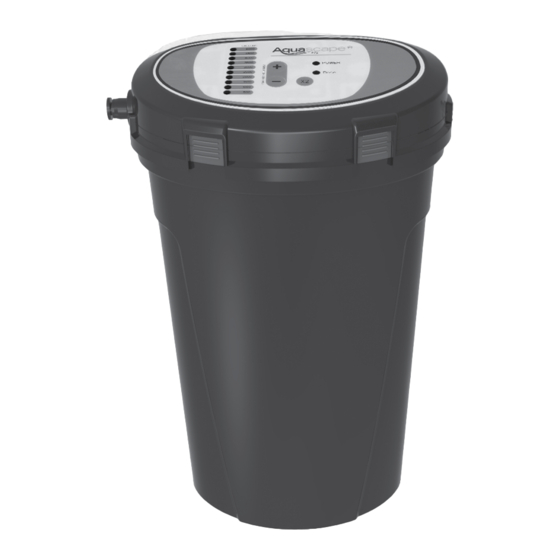
AquaScape 96030 Instrukcja obsługi i konserwacji - Strona 4
Przeglądaj online lub pobierz pdf Instrukcja obsługi i konserwacji dla Systemy filtracji wody AquaScape 96030. AquaScape 96030 20 stron. Automatic dosing systems for ponds/ fountains
Również dla AquaScape 96030: Instrukcja obsługi i konserwacji (20 strony), Instrukcje i konserwacja (16 strony), Instrukcje i konserwacja (20 strony)

Automatic Dosing System Specifications
• Input Voltage: 12V AC
• Input frequency: 60 Hz
• Input Watage: 2.5W (max)
• For outdoor or indoor use
• Thermally protected
• This system has been evaluated for use with the Aquascape
Automatic Dosing System Water Treatments only.
Installation
• Carefully remove the contents of your dosing system from
the packaging.
• Attach the transformer to the
dosing system power cord
using the quick-connect
fitting attached to the
system's main power cord
(Ex. 1).
NOTE: the transformer
should be plugged into a
GFCI rated receptacle. The
transformer included is
12V. The unit can also be
powered by an existing 12V
transformer used for 12V
lighting.
• Open the dosing system by
pressing the four blue tabs
simultaneously on the control
panel while gently lifting
upward (Ex. 2).
• Attach the water treatment
pouch by first removing the
existing water treatment
cap. Then, insert the
clear inner tubing into the
water treatment and seal
the connection using the
threaded cap attached
to the inner tubing. Finish
the pouch installation by
connecting the other end
of the inner tube to the
connection at the bottom of
the control panel (Ex. 3).
4
Transformer
• Input Voltage: 120V AC
• Input frequency: 60 Hz
• 6-Watts
• For outdoor or indoor use
• Thermally protected
• Place the attached treatment
inside the canister. Then,
place the control panel back
onto the canister (Ex. 4).
• Attach the included
discharge tubing to the fitting
on the side of the control
panel (Ex. 5). Simply insert
the tubing into the fitting
until it stops. The discharge
tubing can either be installed
directly into the pond or fountain or installed using the
Ex. 1
included output hose holder. The output hose holder can
be easily attached to plumbing or other round surfaces.
Refer to the installation diagrams on the following page for
more information.
Ex. 2
NOTE: Install the system as close to the water feature as
possible to minimize the distance your water treatment
needs to travel.
• Using the plus or minus buttons on the top of the
control panel, select the proper amount of gallons to be
maintained (Ex. 6). If you are treating a fountain or small
Ex. 3
water feature with less than 500 gallons, we recommend
using the 500 gallon setting. If the fountain or water
feature contains more than 500 gallons of water capacity,
increase the setting to the proper gallonage.
☎
☎
US (866) 877-6637 |
CAN (866) 766-3426 | aquascapeinc.com
Ex. 4
Ex. 5
