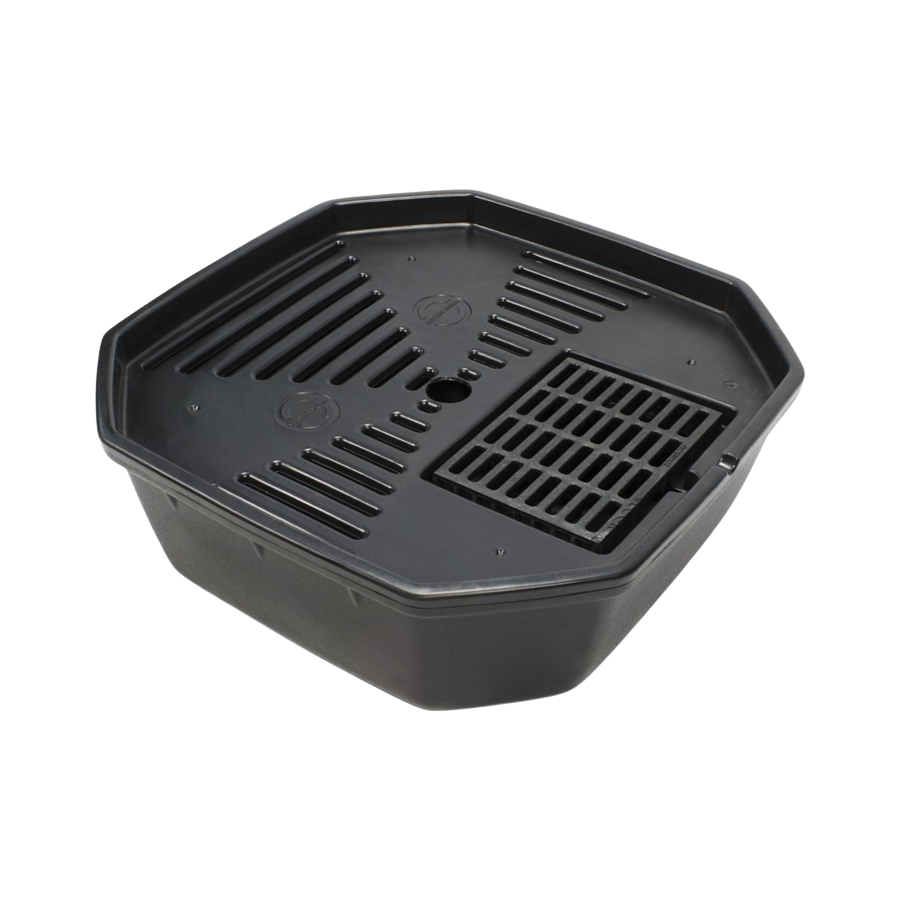
AquaScape AquaBasin Small Instrukcje instalacji krok po kroku - Strona 6
Przeglądaj online lub pobierz pdf Instrukcje instalacji krok po kroku dla Sprzęt oświetleniowy AquaScape AquaBasin Small. AquaScape AquaBasin Small 6 stron.

The Small AquaBasin
heavier pieces. If you decide to modify or drill into your AquaBasin
and identify these four supports and DO NOT DRILL or puncture through the supports.
Doing so will cause the unit to leak.
It is recommended that a ball valve be installed on every decorative feature. This will allow
you to adjust the flow of water coming out of the decorative feature so that you can get
the desired effect.
Make sure the decorative feature is level from side-to-side and front-to-back. If the
decorative feature is not level, the water may not flow out of the fountain evenly.
The hole for certain stone fountains may actually be larger in diameter than the pipe being
used. If this is the case, apply some silicone around the pipe at the base of the fountain
in order to fill the gaps.
If the decorative item is exhibiting excessive splash, small stones or silicone can be used
to help direct the water.
™
The AquaBasin
defective materials and workmanship from
the date of purchase by the user. Contact the
installer or place of purchase if the AquaBasin
should fail within the warranty period. Warranty
shall be totally null and void in the event the AquaBasin
misused, or used for a purpose other than which the product is intended.
6
™
is designed with four underside supports to help support the
has a Lifetime warranty against
™
, be sure to locate
LIFETIME
LIFETIME
WARRANTY
WARRANTY
™
™
is abused,
