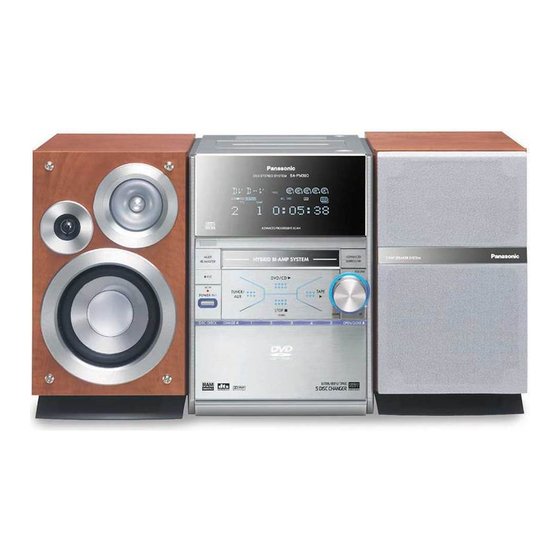
Panasonic SCPM39D - MINI HES W/CD PLAYER Instrukcja obsługi - Strona 24
Przeglądaj online lub pobierz pdf Instrukcja obsługi dla System stereo Panasonic SCPM39D - MINI HES W/CD PLAYER. Panasonic SCPM39D - MINI HES W/CD PLAYER 40 stron. Dvd stereo system
Również dla Panasonic SCPM39D - MINI HES W/CD PLAYER: Instrukcja obsługi (40 strony), Instrukcja obsługi (40 strony)

Recording
Recording from disc(s)
•
Do the preparatory steps (A see above).
•
Insert the disc(s) you want to record (A page 12, Discs—Basic
play).
ALL DISC
DISC
1
Select the
disc.
•
When recording stops, disc play stops automatically.
Recording specific disc(s) or tracks.
•
Do the preparatory steps (A see above).
1
Do steps 1 to 2
To record programmed tracks
•
Do steps 1 to 3 {A page 15, Program play (up to 24 items)}.
2
Press [SHIFT] + [aREC] (main unit: [aREC]) to start
recording.
If the tape finishes before the disc
The disc continues playing. Stop it by pressing [L STOP].
Recording from the radio
•
Do the preparatory steps (A see above).
1
Tune to the desired station
2
Press [SHIFT] + [aREC] (main unit: [aREC]) to start
recording.
•
When recording an AM broadcast, sound is momentarily interrupted
when you start and stop the recording.
To stop recording
Press [L STOP].
RQT7509
•
To record or erase the other side, turn the tape over.
Note
24
During recording, other buttons will not function except for [L STOP], [MUTING], [–, +, VOLUME], [J DISC PAUSE], [f] and [OPEN/CLOSE c]
buttons.
SHIFT
STOP
+
2
3
Press to stop
Press to start
playback.
recording
(play starts).
{A see above, Recording from disc(s)}.
(A page 22, The radio).
Types of tape which can be recorded correctly
Use normal position tapes.
High position and metal position tapes can be used, but the unit is not
able to record or erase them correctly.
Preparatory steps
Do these steps before each recording.
Wind up the leader tape so recording can begin immediately.
OPEN
Press to open and insert a cassette
Tape facing you (see
sure that the cassette is fully inserted and close the lid by
hand.
Volume, surround effects, sound field and quality
•
Recording level is set automatically.
•
The volume, sound field and quality have no effect on recording.
They can be adjusted for playback.
•
Multi-channel sources are automatically down-mixed to 2 channels
during recording.
Recording from an external unit
•
Do the preparatory steps. (A see above)
(For connections A page 32, Using an external unit)
1
Do step 1
REC
2
Press [SHIFT] + [aREC] (main unit: [aREC]) to start
TAPE
recording.
3
Start playback from the external source.
(For details, refer to the external unit's instruction manual.)
Erasure prevention
Use a screwdriver or similar object to break out the tab.
Side A
Tab for side B
To record on the tape again, cover the hole with adhesive tape.
Erase recordings
1. Press [- TAPE] and then [L STOP].
2. Press [SHIFT]+[aREC] (main unit: [aREC]).
A page 23, Insert cassette) – make
A
(A page 32, Using an external unit—To playback).
Tab for side A
Adhesive tape
