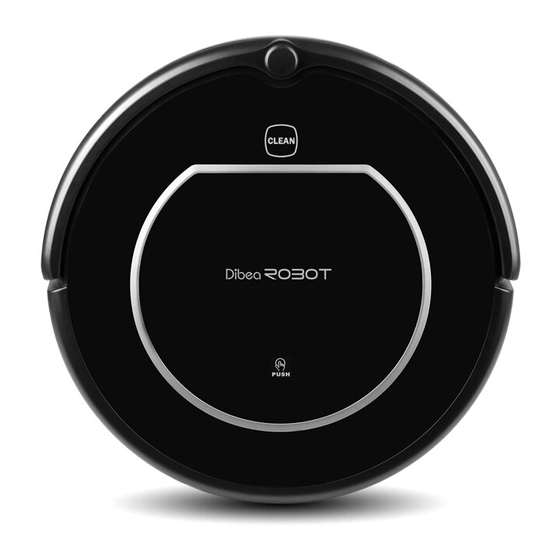
dibea x500 Podręcznik użytkownika - Strona 17
Przeglądaj online lub pobierz pdf Podręcznik użytkownika dla Odkurzacz dibea x500. dibea x500 20 stron. Smart

Product Operating
Scheduling
You can schedule to let the robot start cleaning from a certain time.
(Time delay up to 24 hours.) For example, it's 9:00AM now, you set 6:30 on the robot, the robot
will start cleaning after 6 hours and 30 minutes, that is 15:30 PM. So the robot will start cleaning
at 15:30PM everyday untill the power swith is turned off.
Note: A. Once power switch is turned off, all the scheduling will be cancelled.
B. Once certain time is scheduled, the robot will always work according to the setting.
How to schedule the robot?
1
On main body
A. Press "
" to enter scheduling mode, the left "88" between "88:88" will flash.
B. Press "
" and "
" to increase or decrease hour.
C. Press "
" to exchange from hour to minute.
D. Press "
" and "
" to increase or decrease minute.
E. Press "
" to finish scheduling.
F. To cancel scheduling, keep press "
" for 5 seconds in scheduling mode.
2
On remote control
G. Press "
" to enter scheduling mode, the left "88" between "88:88" on display will flash.
H. Press " " button to increase or decrease hour.
I. Press "
" or "
" to exchange from hour to minute.
J. Press "
" button to increase or decrease minute.
K. Press "
" to finish scheduling.
L. To cancel scheduling, press "
" in scheduling mode.
Note: In scheduling mode, each operation you take will be double confirmed by tone.
30
Product Operating
Cleaning mode
1
Auto cleaning
The robot will clean a room automatically and adjust its cleaning according
to the situation.
Note:
Press CLEAN button on robot or on remote control to start auto cleaning.
Normally, the robot works on a straight line and then change to spiralling.
When it detects obstacles, its cleaning mode will adjust and change automatically.
2
Spot cleaning
The robot will automatically enter spot cleaning mode when it detects a dirtier
area, or you could press SPOT on robot or remote control to start spot cleaning.
Note:
Spot cleaning is used in certain area where it's dirtier than other area.
Spot cleaning will stop after the area is cleaned or when it detects obstacle.
And once this mode is stopped, the robot will turn to selected mode.
3
Edge cleaning
When the robot detects obstacles (wall for example), it may start cleaning the
corner with its two side brushes.
Note:
Press EDGE on remote control to start edge cleaning.
Edge cleaning will stop after the robot cleans along 5m or when it detects obstacle. And once this
mode has stopped, the robot will turn to selected mode.
Virtual wall use (virtual wall is optional
accessory)
Virtual wall is used to prevent robot from entering off-limit area. It could
creat a 4-meter light strip to separate two area, such as in front of doors,
doorways or where there are appliance, cores or other fragile objects.
1
After batteries installed, turn on the power switch.
2
Put the virtual wall where you want it to work.
Note:
When using virtual wall, put "
" side of virtual wall towards
the area you want to set.
Turn the power off when not using virtual wall.
31
