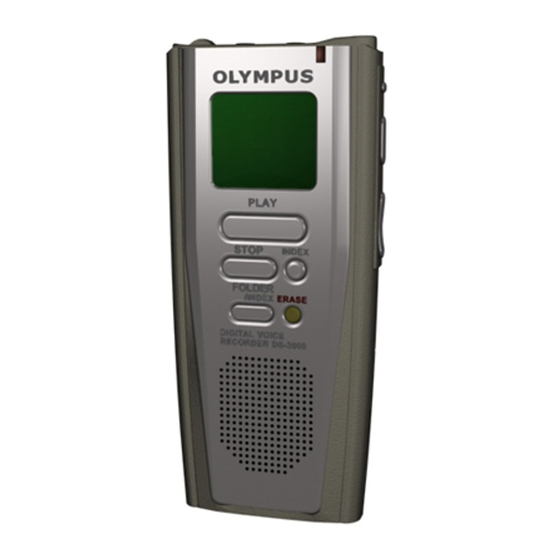
Olympus DS-3000 Skrócona instrukcja administracji - Strona 2
Przeglądaj online lub pobierz pdf Skrócona instrukcja administracji dla Rejestrator głosu Olympus DS-3000. Olympus DS-3000 2 stron. Dss player pro
Również dla Olympus DS-3000: Instrukcja obsługi (36 strony), Instrukcja oprogramowania (20 strony)

Assign a Recorder to a User
To perform these instructions you will need access to a client workstation that has the Dictaphone EXV Upload
Utility installed and configured. Dictaphone Service will install and configure the utility on the client workstation.
Note: You must have the Olympus Uploader privileges, Assign all users to portable and Execute, assigned in
your EXVoice Administrative group to complete this procedure.
1. With the recorder powered on, plug the USB cord from the client workstation into the recorder.
2. If the recorder has not been previously assigned to a user, the User Login dialog box opens. Complete
the login screen by entering a valid client login from the EXVoice system and a password if one is used
3. If the client login that you entered in the previous step is not the login for the user to which you are
assigning the recorder, select the user from the drop-down list at the bottom of the screen
4. Click OK to continue to the Olympus DS-3000 setup dialog box.
5. Complete the Olympus DS-3000 setup dialog box.
!
Folder values go into which EXV id field (1-6)? – Enter the field number in which you want the
folder values to appear in the EXVoice Job Lister reports.
!
Name text column – Enter a descriptive name for the type of dictation that will be saved in each
folder. Use upper/lowercase alpha characters and numeric characters 1 through 9 only. Do not use
the number 0 or any special characters such as
!
Value text column – Enter the worktype value that corresponds to the type of dictation for the folder.
6. Click the down-arrow at the bottom of the dialog box to select the provider who will be using the recorder.
7. Click OK to close the Olympus DS-3000 setup dialog box and save the user settings to the recorder.
Reassign Recorder
Use these instructions to reassign the Olympus recorder to a different user. This procedure may be completed at
any client workstation on which the EXVoice Olympus Upload Utility has been installed and configured.
Note: You must have the Olympus Uploader privileges, Assign all users to portable and Execute, assigned in
your EXVoice Administrative group to complete this procedure.
1. With the recorder powered on, plug the USB cable into the recorder. The EXVoice Olympus Upload
Utility should open automatically.
2. If the user who was assigned to the recorder is no longer a valid EXVoice user... the User Login
dialog opens.
!
Enter the new user's EXVoice Client login and password (if one is required) and then click OK.
!
On the Olympus DS3000 setup screen, make any required changes to the folder names and values,
and then click OK to save the changes to the Olympus recorder.
3. If the user who was assigned to the recorder is still a valid EXVoice user... the Dictaphone EXV
Uploader Utility screen opens.
!
Press F4 or click File | Configure Portable.
!
On the Olympus DS-3000 setup screen, make any required changes to the folder names and values,
and select the new provider from the drop-down list.
!
Click OK to save the changes to the Olympus recorder.
OLYA002
& , * . #,
etc.
2
Administrative Quick Reference
Olympus DS-3000 Recorder
3/12/2005
