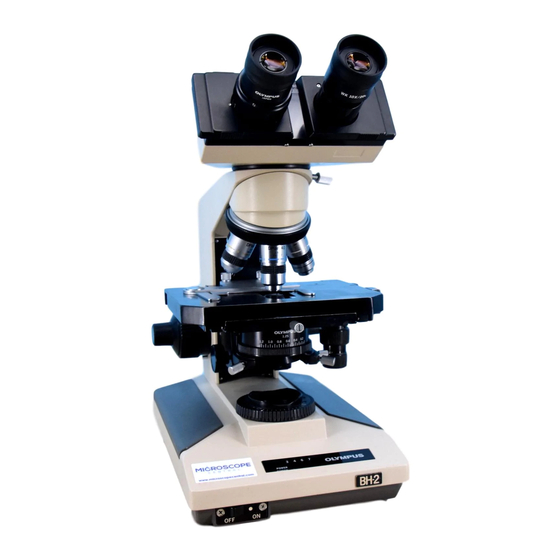
Olympus BH-2 BHS Kompletny demontaż, czyszczenie i ponowny montaż - Strona 9
Przeglądaj online lub pobierz pdf Kompletny demontaż, czyszczenie i ponowny montaż dla Mikroskop Olympus BH-2 BHS. Olympus BH-2 BHS 23 stron. Sliding focus block

With the electrical base removed, fragile lighting
components are exposed on the open bottom of the
base which may be damaged if the base is not placed on
a suitable clutter‐free surface. Place the base in its
normal upright position on a clean, flat surface
someplace out of harm's way and where dust and
debris will not accumulate on the exposed lighting
components.
Disassemble the Sliding Focus Block
Disassemble the sliding focus block mechanism per the
following procedure.
Remove the Trim Cover
Use a suitable JIS screwdriver to remove the four M2x4
screws securing the U‐shaped trim cover onto the arm
casting (see Figure 8).
Figure 8 – Remove screws securing the trim cover
Remove the (now loose) trim cover from the arm
casting (see Figure 9).
Figure 9 – Remove the loose trim cover from the arm
Loosen the Screws Tensioning the Slide Mechanism
Use a 2.5mm Allen wrench or driver to loosen (but do
not remove) the three M3x12 hex, socket‐head cap
screws securing the guide block into position on the
back side of the focus block (see Figure 10).
Complete Teardown, Cleaning, and Reassembly of the Olympus BH‐2 Sliding Focus Block
Figure 10 – Loosen screws securing guide block in place
Use a 2.5mm Allen wrench or driver to loosen (but do
not remove) the two M3x16 hex, socket‐head cap
screws tensioning the slide mechanism (see Figure 11).
Figure 11 – Loosen screws tensioning slide mechanism
Remove the Focus Block Assembly from the Arm
Carefully slide the focus block (with attached guide
block) out the bottom of the arm (see Figure 12), being
careful to not lose any of the cylindrical rollers or spacer
rods in the process (there are eight rollers and one
spacer rod on each side of the slide mechanism).
Figure 12 – Withdraw focus block assembly from the arm
Revision 2
Page 9 of 23
