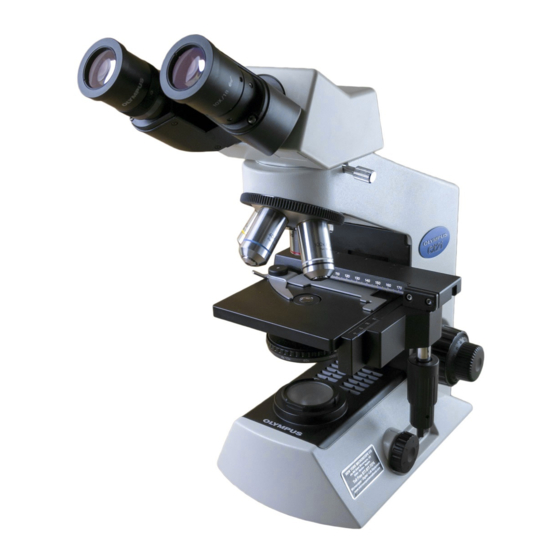
Olympus CX21 Podręcznik konserwacji - Strona 20
Przeglądaj online lub pobierz pdf Podręcznik konserwacji dla Mikroskop Olympus CX21. Olympus CX21 25 stron. Education microscope
Również dla Olympus CX21: Instrukcja obsługi (28 strony)

CX21 MAINTENANCE MANUAL
3. Replacing Grease for Coarse/fine Adjustment Knob Ass'y
If the coarse/fine adjustment knob is not turned smoothly, replace greases on the portions
described below.
(In case where the coarse adjustment knob is not turned evenly or the stage can not be
moved vertically, please contact your Authorized Olympus dealer because it is necessary to
disassemble the left coarse adjustment knob (F) with shaft and/or guide unit.)
< Disassembling coarse/ fine adjustment knob>
1) Remove the fine adj. knob ass'y (A) and fine adj. knob (B) by turning them in arrow
directions.
(In fine adj. knob ass'y, the left fine adj. knob is fixed to the shaft with adhesive,OT1006)
2) Remove the spring washer (C) and washer (D).
3) Remove the fine shaft mount (E) with a spanner while holding the coarse adj. knob (F).
4) Remove the coarse adj. knob (G) by turning it counterclockwise while holding the coarse
adj. knob (F).
5) Remove the tension knob (H) by turning it counterclockwise.
(The washer (I) is attached to tension knob (H) with grease.)
6) Pull out the tension ring (J) while holding the convex part using a plier.
7) Reassemble them in the reverse order.
(For applied portions of greases, refer to the figure on the right below.)
a
(F)
OLYMPUS
CX21
clearance
in gear
attachment part
b
- 17 -
REPAIR PROCEDURE
(A)
sliding surface
A002
Grease
(OT2008)
Grease
(OT2012)
Applied part:
(about 20mm)
(J)
b
Grease
(I)
(OT2006)
(H)
groove
and whole
surface
(D)
(character
indication
(C)
surface)
(E)
Grease
(OT2006)
contact point
of spring
Grease
a
(OT2006)
end surface
Grease
(OT2006)
(G)
(B)
A003
