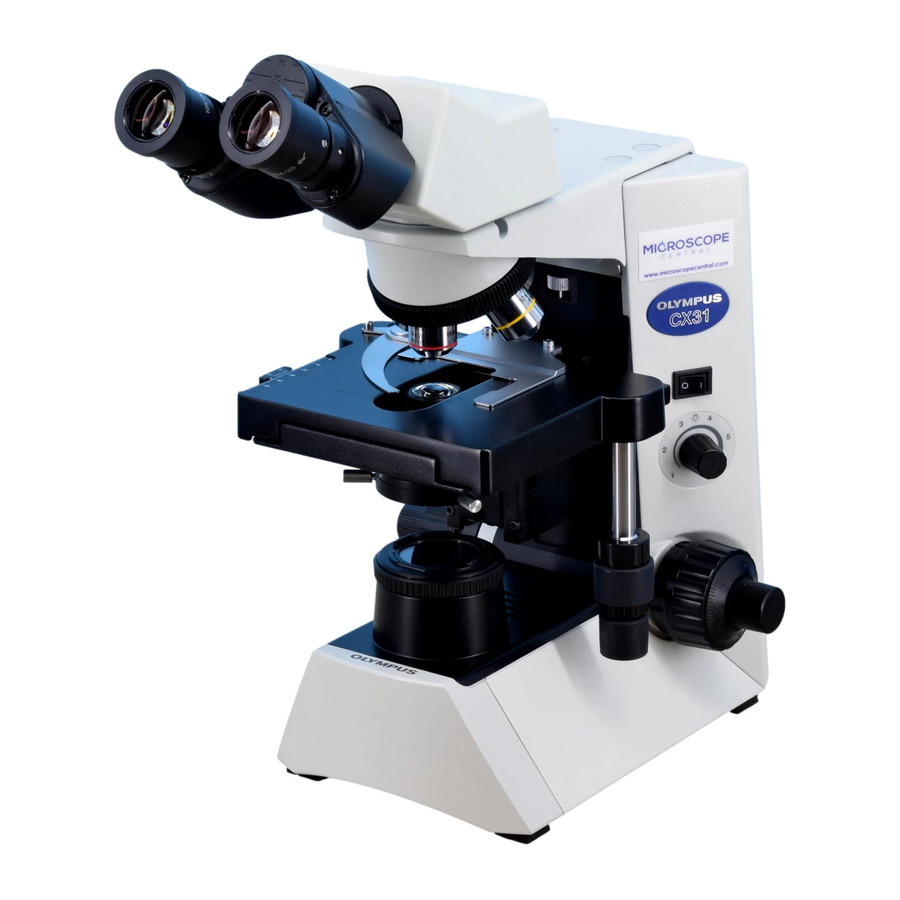
Olympus CX31 Instrukcja obsługi - Strona 18
Przeglądaj online lub pobierz pdf Instrukcja obsługi dla Mikroskop Olympus CX31. Olympus CX31 24 stron. Biological microscope

5 5
TROUBLESHOOTING GUIDE
Under certain conditions, performance of the unit may be adversely affected by factors other than defects. If problems
occur, please review the following list and take remedial action as needed. If you cannot solve the problem after
checking the entire list, please contact your local Olympus representative for assistance.
Problem
1. Optical System
a) Field of view is obscured or not
evenly illuminated
b) Dirt or dust is visible in the field of
view.
c) Image shows diffraction.
d) Visibility is poor.
· Image is not sharp.
· Contrast is poor.
· Details are indistinct.
e) One side of image is blurred.
Image seems to waver.
15
Cause
Revolving nosepiece is not correctly
engaged.
Field iris diaphragm is not properly
centered.
Field iris diaphragm is stopped down
too far.
Dirt/dust on objective, eyepieces,
condenser or light exit glass.
Dirt/dust on light exist glass
Dirt/dust on top lens of condenser
Dirt/dust on the specimen
Dirt/dust on eyepiece
Condenser is lowered too far.
Aperture iris diaphragm is stopped
down too far.
Objective is not engaged correctly in
light path.
Dirt/dust on front lens of objective.
Immersion oil is not being used with
an oil immersion objective.
Immersion oil contains bubbles.
Recommended immersion oil is not
used.
Dirt/dust on specimen.
Dirt/dust on condenser.
Objective is not engaged correctly in
light path.
Specimen is not correctly mounted
on stage.
Remedy
Make sure that revolving nosepiece
clicks properly into place.
Center it.
Open it to an optimum stop position.
Clean them.
Clean thoroughly.
Adjust the condenser height position.
Open it.
Make sure that revolving nosepiece
clicks into place correctly.
Clean it thoroughly.
Use immersion oil.
Remove bubbles.
Use the specified immersion oil.
Clean it.
Make sure that revolving nosepiece
clicks into place correctly.
Place specimen correctly on top of
stage and secure it with specimen
holder.
Page
15
13
8
3
3
13
13
5
3
14
14
14
3
5
10
