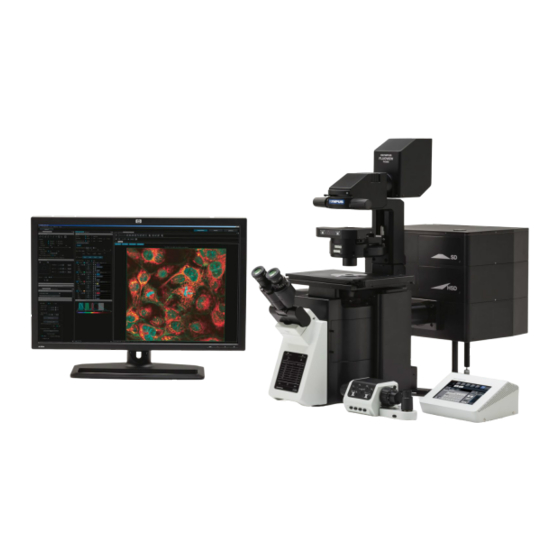
Olympus FV3000 Instrukcja obsługi - Strona 32
Przeglądaj online lub pobierz pdf Instrukcja obsługi dla Mikroskop Olympus FV3000. Olympus FV3000 38 stron.
Również dla Olympus FV3000: Podręcznik bezpieczeństwa (16 strony), Instrukcja obsługi (5 strony)

(acquiring by multiple channels)
②
⑧
⑤
⑥
28
Lambda series
①
③
③
④
⑦
*Before starting the following procedure,
make adjustments for XY imaging.
(refer to page 4-5.)
Changing to Lambda mode
① Select "Lambda" in [Mode] in [PMT
setting] Tool Window.
Select one channel to be used
② Press the
& Detector Select] dialog box appears.
Press the
button to reset the
Assigned Detector.
③ Select the [Channel] tab in [Dye &
Detector Select] dialog box. Select the
detector to be assigned to the
observation channel in [Detector List],
and press
button.
Press the
button to close the [Dye &
Detector Select] dialog box.
④ Tick the checkbox of the wavelength of
the excitation laser to be used.
Setting DM and SDM
⑤ Select [Lightpath] in [Tool Window]
menu. [Lightpath] Tool Window appears.
⑥ Select [LSMScanner] tab in [Lightpath]
Tool Window. Press the DM button to
display the dichroic mirror list. Select
"DM" which reflects the wavelength of
the excitation laser selected in ④.
⑦ Check the light path whether the light
path is set properly.
Setting "Band width" and "Step Size"
⑧ In [PMT Setting] Tool Window, set the
width of the wavelength for which the
photometry is performed per each step
in [Band width], and set the interval
between the wavelength to start
acquisition in the next step in [Step size].
(See page 26 "Standard" for details. )
button. The [Dye
