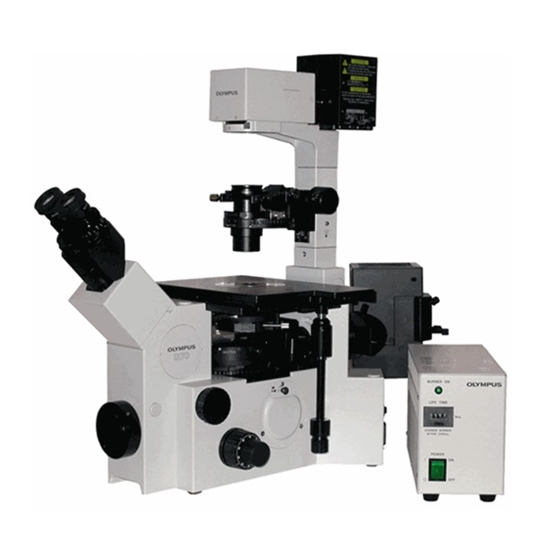
Olympus IX70 Instrukcja obsługi - Strona 28
Przeglądaj online lub pobierz pdf Instrukcja obsługi dla Mikroskop Olympus IX70. Olympus IX70 32 stron. Inverted fluorescent microscope
Również dla Olympus IX70: Instrukcja obsługi (5 strony)

You can set line styles and axis scales. Defaults
use the ROI color to identify data per ROI and solid vs
dotted to ID the pairs used per ratio. For Fura-2, you
expect the F340 to rise and the F380 to drop if calcium
goes up; if both change the same direction, it's
something else like focus drift, bleaching, etc. You get
ratio plots straight away. You need to calibrate values to
get the real-time calibrated value graph to work.
Calibrate the system, if desired, using defined
buffered solutions and one of several methods offered.
You can use two-points (fully unbound indicator and fully saturated to generate minimum and maximum
ratios, Rmin, Rmax, respectively) and the equation method, or create a titration curve using many
buffered solutions. I prefer an in vitro, multi-point approach for Fura-2, though there are
advantages/drawbacks to all methods their discussion is beyond the scope of this simple manual. Ratio
data are always right but calibrations can yield junk if you're not careful. There is value in saving raw
image data in that you can later apply various calibrations and other corrections (like background
subtractions and flat-field corrections). Enter the dialogs via the top menu CALIBRATION.
PDF Created with deskPDF PDF Writer - Trial :: http://www.docudesk.com
Open the event mark menu by pressing the
Events sidemenu button. You can enter any text you
want associated with an event in the entry box, then
either log it immediately or store it to the reuse list
with buttons at the bottom. Hit the F5 button to
speed mark an event (vs futzing with the mouse);
F6 advances through the list. The list is stored with
your protocol if you save it on closing an
experiment (it will ask you each close).
Graphs can be configured by pressing the
Graphs sidemenu button.
28
