Olympus IX70 Instrukcja obsługi - Strona 7
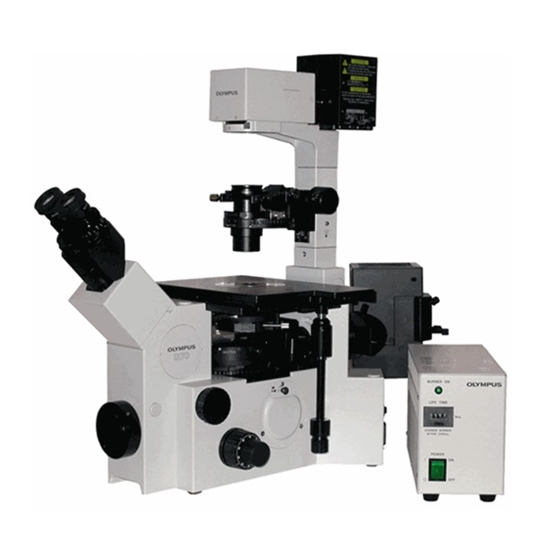
Przeglądaj online lub pobierz pdf Instrukcja obsługi dla Mikroskop Olympus IX70. Olympus IX70 32 stron. Inverted fluorescent microscope
Również dla Olympus IX70: Instrukcja obsługi (5 strony)
Importantly, there are two filter sliders to attenuate light (ND = neutral density filters) one
on the filter changer just in front of the arc lamp housing, and one in front of the filter changer (Fig. 4).
The filter changer (back) slider imposes an ND2 (100x less light, or 1% illumination), and the scope
(front) slider produces 25% illumination. You should use as little light for live cell imaging as possible
(both sliders pushed in) to forestall photodamage. Most imaging can be done with only the 25% slider
pushed in (well suited for your eyes, too). You can use full light for dim samples, but be aware that you
are probably getting high autofluorescence and probes will bleach quickly. And remember to always
check your controls with the same illumination intensities!
Position
Whl A (F1)
(excitation)
0
Closed
1
Open
2
340
3
380+nd1.0
4
440/20
5
480/40
6
560/40
7
640/20
8
Open
9
Open
Need special filters? Ask the staff about them... we have more filters than turret positions, so CFP, YFP,
Chameleon FRET, FURA, TexRed and Cy7 cubes are available but not installed.
How-To Do (non-ratio) Fluorescence Image Capture
Much of the configuration of the microscope is manual, but the software will queue you
with pop-up windows to change what needs to be changed by hand. Turn on the computer and logon; start
MetaMorph. MetaMorph (see Figure below) is configured to always start with the 20x objective in place
and cubes set to DIC. The software will pop up a window reminding you to change the objective to the
20x to start. The TASKBAR that pops up contains most of the buttons to select an objective, rotate in
filter cubes, select light paths, operate the camera, etc. If the taskbar does not open, you can find it under
Journal
Taskbars
PDF Created with deskPDF PDF Writer - Trial :: http://www.docudesk.com
Whl B (F2)
following chart reports the contents of the 10 filter slots in each wheel:
(emission)
The Whl-A 340/380 positions are used to conduct calcium imaging
Open
studies with the indicator fura-2. The 440 exciter and Whl-B 485/535
450/65
emission filters are used for real-time FRET probes such as cameleon
485/40
sensors. Both of these methods will require the proper dichroic mirror
535/30
(filter cube) to be placed into the microscope (not routinely installed at
polarizer
this moment). We are swapping them to the #3 filter cube position since
colorRED
few high-speed studies require combinations of fura-2 plus FRET plus
colorGRN
DIC. ColorRED is (600nm LP), colorGRN (500-575 BP), and
colorBLU
colorBLU (500nm SP) filters are intended for (additive) RGB color
630/60
capture, but can be used in custom filter designs as well.
682/22
Load Taskbar. Choose the "main" taskbar. When you choose a function on the
{optional details} For those who want to know the details, the
taskbar, a small window will pop up to
tell/remind you if you need to change
something manually.
1) You should always use the main menu
(top bar) to open the ACQUIRE
menu. This menu gives you access to
camera controls. Other ACQUIRE menu
options include acquisition of multiple
wavelengths, Z series, timelapse, etc. Many
of those menus close after you use them, so
you'll have to go back and re-open them for
more data. If you are collecting multiple
7
acquire