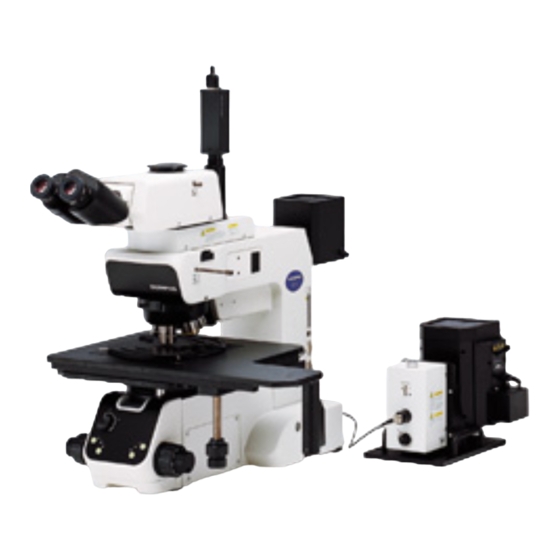
Olympus U-UVF248 Instrukcja obsługi - Strona 17
Przeglądaj online lub pobierz pdf Instrukcja obsługi dla Mikroskop Olympus U-UVF248. Olympus U-UVF248 24 stron. 248 nm uv microscope unit

Fig. 6
ƒ
...
³
Fig. 7
@
3
Attaching the UV248 Light Source Box
²
Attaching the Mercury/Xenon Burner (Figs. 6 & 7)
The burner and areas near it will be extremely hot during and right
after use. To prevent burns, wait until the burner and lamp housing
have cooled down after turning the burner off.
Do not touch the burner socket immediately after ignition. Other-
wise, an electric shock may result due to the remaining charge of
the high voltage required for ignition.
Before opening the lamp housing after use, set the power switch to
"
" (OFF) and wait 10 minutes or more until the burner and lamp
housing have cooled down.
1. Loosen the socket clamping screw @ using the Allen screwdriver.
2. Hold the upper part of the lamp housing and pull it up straight to remove
the socket section.
# To prevent malfunction, do not hold the lamp housing by the center-
ing knobs ².
3. Place the socket section upside down as shown in Fig. 7.
}The lamp housing is equipped with the holder for transportation in the
factory shipment condition or with an old burner when the burner is
replaced. Remove the holder or old burner by loosening the two burner
holding screws ³.
4. Attach the burner so that the - (negative) pole comes at the top and
tighten the - (negative) pole side with one of the screws ³. Then fit the +
(positive) pole of the burner into the + (positive) side socket hole and
|
tighten the other screw ³.
Be sure to use the UXM80E burner (mfd. by USHIO) that is available
through Olympus.
# Be careful not to soil the burner with fingerprints or dust. If it
becomes dirty, wipe clean the burner surface with a piece of
gauze moistened with a mixture of ether (70%) and alcohol (30%).
# The burner | should be attached so that projection ƒ on the tube is
oriented toward the burner mounting side and does not hinder the
light path.
# The trigger wire ... of the xenon burner should face the starter con-
necting surface so that it will not interfere with the light path.
5. Attach the socket section with burner in the original position and tighten
the clamping screw @.
# To attach, align the external surface of the socket with that of the
lamp housing and push the socket straight downward.
Do not ignite the burner until the lamp housing is mounted on the
UV248 light source box. Otherwise, the UV rays may injure your eyes
or skin.
U-UVF248
(Figs. 6 to 8)
14
