Olympus Aloka ProSound F75 Skrócona instrukcja obsługi - Strona 4
Przeglądaj online lub pobierz pdf Skrócona instrukcja obsługi dla Sprzęt medyczny Olympus Aloka ProSound F75. Olympus Aloka ProSound F75 12 stron.
Getting Started – basic setup and shutdown
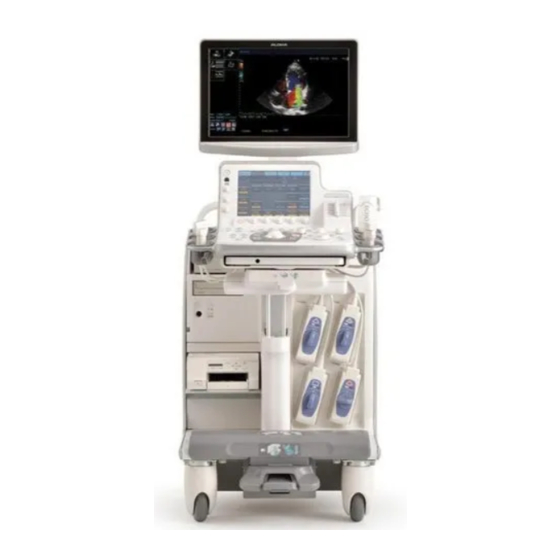
Attach EUS Connector Cable to the scope and to port, located
1
on the front side of the main body
If Picture-in-Picture is required, connect image cable from the
2
back of the main body to the "PiP" port on video processor
Holding the power button turns the ALOKA on/off. The power
3
switch at the back of the main body can remain on
3
1
*Settings may differ if your preset has been personalised
Aloka Prosound F75 Quick Reference Guide
If storing images on ALOKA, a patient
file must be created (see next page).
1
2
Press PROBE PRESET
4
Select the desired probe and preset on the touchscreen (both
5
should be yellow)
Press B GAIN to freeze the image. Ensure image is frozen before
6
changing probes, unplugging EUS cable or turning power off
• Yellow tiles are functions that are "active"
• Blue tiles are functions that are available but "inactive"
• Multiple presets can be created and linked to a probe
5
Probe
4
Preset
6