Olympus TRIP 35 Instrukcje naprawy
Przeglądaj online lub pobierz pdf Instrukcje naprawy dla Kamera filmowa Olympus TRIP 35. Olympus TRIP 35 17 stron.
Również dla Olympus TRIP 35: Instrukcja obsługi (13 strony), Instrukcja obsługi (13 strony)
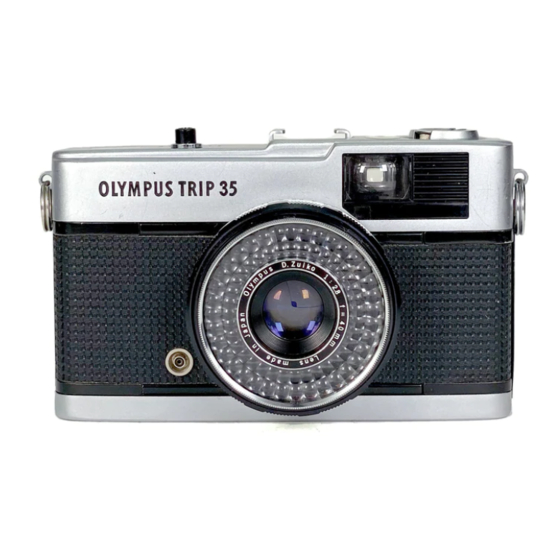
Olympus Trip 35 Illustrated Repair Instructions
Olympus introduced the Trip 35 in 1968. The camera remained in production for 20 years, and Olympus sold over
10 million of them. Both of these numbers must surely stand as records in the annals of camera history. The
popularity of this camera was due to the convergence of two factors. They are very small, light, well made, easy to
use, and reliable. They don't even need a battery! They also take pictures that rival or exceed the best cameras ever
made – including modern, fancy DSLRs costing thousands of dollars!
Today, these cameras are readily available and very inexpensive. Many of them are still used regularly by their
original owners. Many more have been given a second chance by people who have recently discovered these little
gems. However, they are reaching an age where many of them could use some simple service. There is a common
myth that many of these cameras no longer work because the selenium photo cell is no longer functioning. This is
not very likely.
The selenium cells and the meter circuits used in this camera are very robust. In all probability these are still
working just fine. The likely cause of any problem is that the aperture blades are stuck. This is very easy to fix.
But first let's look at how this camera works to see if we can figure out what's wrong with it.
The Trip 35 is fully automatic. Contrary to popular belief, there is no manual override. The camera uses a
"trapped needle" mechanism for setting the proper exposure. The aperture is held stopped down to f22 by a spring.
When the shutter button is pressed, a bar comes up and "traps" the meter needle against a plate. Following right
behind the bar is a cam which is connected to the aperture blades. This comes up until it touches the trapped meter
needle. The distance the cam travels determines how far the aperture opens.
So if you look into the lens, you'll see a small diamond shape, about 1mm across. This is the aperture closed down
to f22. Push down the shutter release and the aperture should open. If it doesn't open, don't worry! Just keep
reading, and you'll learn what to do.
The camera has two shutter speeds – 1/40 and 1/200 second. The camera chooses between these two shutter speeds
based on its internal "logic". None of the documentation describes how or when this decision takes place, but
experimentation shows that the camera will switch to 1/200 s and ~f8 when shooting a bright (daylight) subject and
loaded with 100ASA film. If there is not enough light for proper exposure at f2.8 and 1/40 second, a red flag will
show in the viewfinder. This flag is connected to the same linkage as the aperture setting cam, so if the aperture
blades are stuck the flag will not display.
The camera has a "Flash" scale which can be used for flash photography. Using the "Flash" setting just sets the
shutter speed to 1/40 s. and controls the largest aperture. The meter may still set the aperture to a smaller setting. So
it is not a real manual override. You can see this by shining a light into the photocell, and seeing where the aperture
opens up to when you press the shutter release. (For this to work, the aperture mechanism must be free to open.).
The instructions below show how to determine if the meter is working, and how to repair stuck aperture blades.
Only you can determine if you have the skills and ability to perform a repair of this type. The author is not
responsible for any damage you may do. Note that left and right refer to the camera's left and right. All screw
threads are standard, right-hand threads. The tools required are:
- ice cube tray
- small screwdrivers
- lens cleaning cloth
- Q-tips
- wooden popsicle stick
- lighter fluid
- graphite lubricant
- red marker
- plastic sandwich bags