Olympus CKX41 Instrukcja naprawy - Strona 27
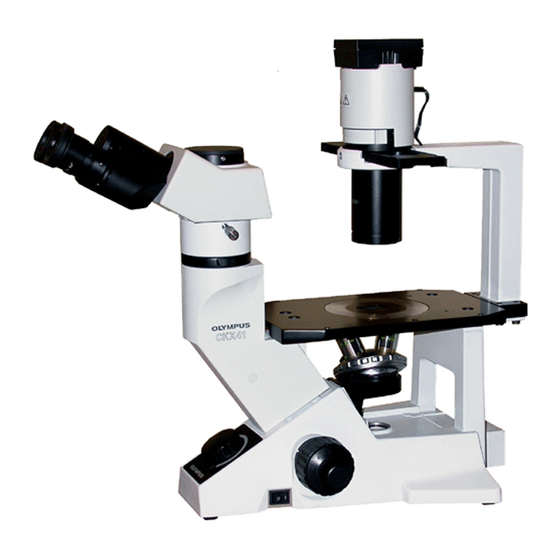
Przeglądaj online lub pobierz pdf Instrukcja naprawy dla Sprzęt laboratoryjny Olympus CKX41. Olympus CKX41 43 stron. Reflected fluorescence system
Również dla Olympus CKX41: Przegląd (7 strony), Broszura i specyfikacje (4 strony), Instrukcja obsługi (36 strony)
CKX31/CKX41
No.
Parts name
(A)
ARM
(B)
COVER
(C)
CAP
(D)
CORD
(E)
BAND
(F)
CORD HOLDER
(G)
FILTER FRAME
(H)
LENS TUBE
(I)
RING
(J)
LENS
(K)
LAMP TUBE
(L)
LENS FRAME
(M)
RING
(N)
RING
(O) 45FHG
(P)
RING
(Q) FROSTED FILTER
(R)
SPACER
(S)
LENS
(T)
KNURLED RING
(U) DIAPHRAGM
BLADE
(V)
DIAPHRAGM
FRAME
(W)
SCREW
(X)
SPRING
(Y)
BALL
(Z)
RING
C. DISASSEMBLY AND ASSEMBLY PROCEDURES
Screw
AB6X12SA, 4pcs. (*1)
AB4X10SA, 1pc. (*2)
CUKSK3X8SA, 2pcs. (*3)
CSK3X6SA, 3pcs. (*4)
PSK2X4SA, 3pcs. (*5)
ABK2.6X8SA, 4pcs. (*6)
C-16
Grease Adhesive
Attach it with double coated
adhesive tape.
Attach it with double coated
adhesive tape.
OT1026
OT1026
Apply grease to the sliding surface
OT2010
on the bottom.
Apply adhesive to 2 points.
OT1026
OT2010
Apply grease to the sliding surface
on the top.
Mount it in the correct directions.
(Refer to the figure on C-15.)
OT1026
Remark