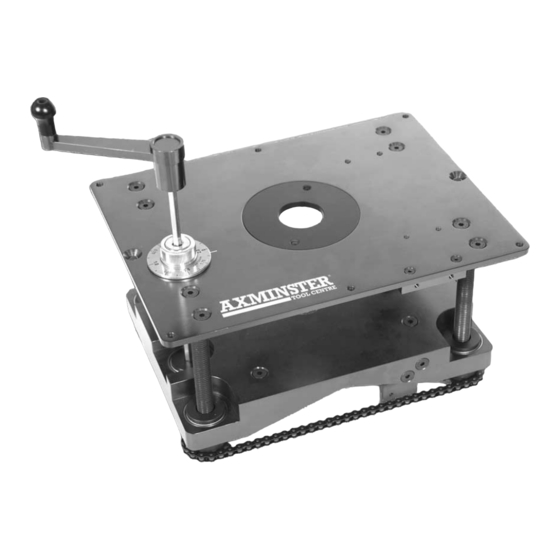
Axminster Router Elevator 210081 Podręcznik użytkownika - Strona 12
Przeglądaj online lub pobierz pdf Podręcznik użytkownika dla Narzędzia Axminster Router Elevator 210081. Axminster Router Elevator 210081 16 stron.

Fitting the Router and the Cutters...
NOTE. If you are not using a professional router table with a
remote On/Off switching facility, or a Power Tool NVR Switch
(similar to Axminster 910065) remember to orientate the router
so that the power switch is easily accessible when the router
elevator is fitted to the work platform.
When everything is assembled to your satisfaction. Check the
speed setting of the router is correct for the cutter diameter. Give
the router a 'quick burst' to check that everything is secure. If the
'quick burst' check is O.K. proceed to fit your fencing, dust
extraction etc
NVR Switch
(Part No: 910065)
Fitting the Accessory Digital Readout Scale...
Unpacked the DRO and Scale from the box. Please check the contents against the equipment
list, if there are any discrepancies, please contact Axminster Tool Centre using the
procedures laid down in the catalogue. Please dispose of the packaging responsibly; much
of the material is bio-degradable.
Fig 6
Modifying the DRO attachment bracket.
The DRO attachment bracket must be
modified to allow clearance of the drive
chain. See Fig 6
Identify the DRO attachment bracket.
Using Fig 6 (The fig shows an attachment
D.R.O
bracket and the required modification).
attachment
Ensure the bracket is correct orientated and
bracket
carry out the modification.
Modification
Position the rise and fall platform at a mid position. Taking care not to 'knock' the DRO and
the attachment bracket, identify the clamping plate at the top of the scale and remove the two
screws holding it and clamping the scale to the mounting plate. (See Figs 7 & 7a) Discard the
mounting plate. Using the same two screws loosely fasten the clamping plate to the hard
point on the machine table of the router elevator, See Fig 8. Insert the end of the digital scale
into the pocket created by the hard point and the clamping plate, set it as square as possible
and clamp it in position by tightening the two screws. (DO NOT OVER TIGHTEN). Slide the
DRO up the Scale until the elongate hole in the bracket is aligned with the fixing hole in the
hard point of the rise and fall platform. Insert the screw. See Fig 9.
Loosen the clamping screws holding the scale and the screw securing the DRO bracket until
the 'holding force' is just 'pinched'. Very carefully, raise and lower the platform, and if
necessary, allow the scale and the bracket to move to align themselves. Take care the scale
does not pull out of the clamping pocket. When you are satisfied they are aligned (i.e. neither
is moving) tighten the three screws securely. (DO NOT OVER TIGHTEN, remember the
'hard points' are alloy, and over tightening may strip the threads).
12
Refer to the leaflet in the Digital Readout Scale for the operating instructions.
