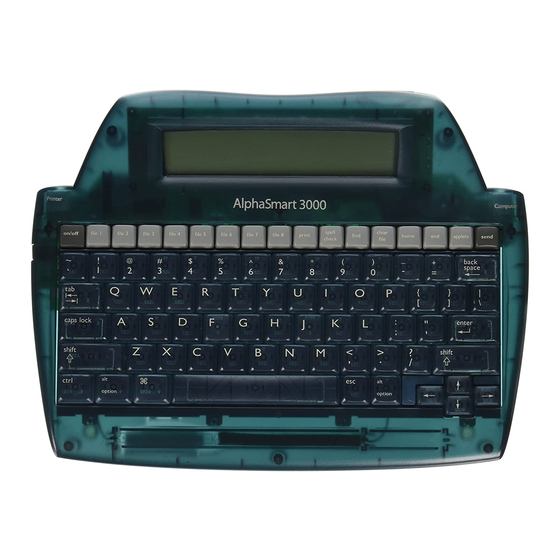
Alphasmart 3000 Instrukcja montażu - Strona 3
Przeglądaj online lub pobierz pdf Instrukcja montażu dla Pulpit Alphasmart 3000. Alphasmart 3000 4 stron.
Również dla Alphasmart 3000: Skrócona instrukcja obsługi (13 strony), Skrócona instrukcja obsługi (3 strony)

use a ruler or other straightedge to make sure the switches are straight, as there is
no plate to align them.
Insert two of the stabilizer sliders into the bottoms of
two of the stabilizer housings, then insert the ends of
one of the stabilizer bars through the front of the
housings and into the lower holes of the sliders. Place
the bar snugly in the clip on the front of the housing.
Then insert the assembled stabilizer into the holes on
either side of one of the spacebar switches on the
front of the PCB so that the bar is towards the
Fig. 3
bottom and the split pegs are in the smaller holes
towards the top. Repeat all this for the other stabilizer.
Remove any batteries in the AlphaSmart. Undo the 8 screws on the back of the
AlphaSmart and carefully put them aside. Lift the front of the case and unplug the
display cable from the main board. Undo the 6 screws holding the original
keyboard to the case and put those aside as well. With tweezers or your nails, open
the latches on the connectors on the main board that the keyboard connects to and
remove the flex cables, then lift the keyboard out of the case. Carefully insert the
cables of the mechanical keyboard into the connectors on the main board and close
the latches. Place the mechanical keyboard so it fits over the two alignment pegs of
the case. Screw the screws back in, gently and evenly so as not to place undue stress
on the PCB. Because of the leads and switch pins sticking out of the underside of
the PCB, it will not be perfectly flush against the case. Plug the display cable back
in (the ribbon cable should run to the right) and screw the case back together. Place
A
