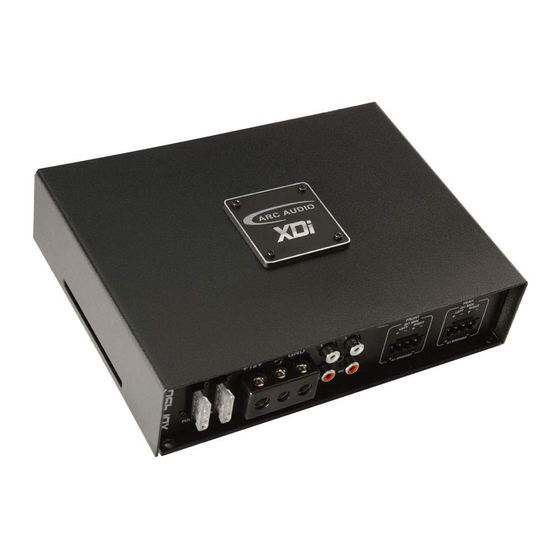
ARC Audio XDi 450.4 Instrukcja obsługi - Strona 3
Przeglądaj online lub pobierz pdf Instrukcja obsługi dla Wzmacniacz ARC Audio XDi 450.4. ARC Audio XDi 450.4 11 stron. Full range class d amplifier

Running the Cables
Carefully run the power and signal cables through the passenger compartment of the vehicle. Running power down one
side and signal down the other is the preferred method. If this isn't possible, keep them separated as much as possible.
When running through any metal, always use a rubber grommet to prevent the power wire from shorting and to reduce
the risk of fire. A 4 gauge or larger wire should be used for power and ground connections. ALWAYS install a fuse on the
power wire within 18 inches of the battery for safety.
Recommendations for all Class D amplifiers
Class D amplifiers by the nature of there design emit a certain amount of RF (Radio Frequency) radiation. While we have
optimized the design to reduce this to a minimum level there are still steps you can take to eliminate any unwanted FM
radio interference. The tips below apply to any class D amplifier.
Always mount the amplifier as far from the antenna as the installation will allow. At the same time you will want to keep it
away from the radio or any other electronics that may prove to be sensitive to FR radiation.
Make the ground wire as short as possible. Think of the ground like it is an antenna. Short antennas do not work as well.
Use twisted pair wires as much as possible. If you can manage it all the speaker wire and input cable weather by RCA or
speaker level should be twisted. If you do not have twisted pair wire you may be able to twist it yourself.
If you encounter a problem with FM interference you can try turning the amplifier 90 degrees or changing its location
completely. RF radiation can be very directional.
Warning
Take extra care when using CCA (Copper Clad Aluminum) or pure aluminum wire to insure the connections as clean
and tight. Do to aluminums highly reactive nature these connections can fail without the typical "Green" or tarnished
look you would expect with copper. Aluminum also has a greater rate of expansion do to heat and care must be taken
to insure that the connection is not over tightened. This can result in the failure of the power or ground connector and
possibly the circuit board.
Thermal (Heatsink)
The Ampli er has Over Heated. Turn the volume down and let it cool o
Thermal (Transformer)
The Power Supply Transformer has Over Heated. Turn the volume down and let it cool o .
Code 11 Under Voltage
The Battery Voltage it too low. I bet your car won't start. If it does, you have a bad connection.
Code 12 Short (Low Power Channel)
Shorted speaker or wire on Channels 1-4. Turn the system o unill you can get this fault corrected. Also includes internal shorts.
Code 13 Repeated Shorts
You didn't turn the system o , did you?
Code 14 Over Voltage
Your Alternator is Over-Charging. Have your vehicle's electrical system tested right away.
Code 15 DC Output Protection
DC Current was detected on the speaker line and to avoid damaging the speakers, this ampli er has shut down. This will probably require factory service.
Code 16 Short (High Power Channel)
Shorted speaker or wire on subwoofer channels (5 or 5-6) also includes internal shorts.
Normal Turn on
Blue is good. This is normal self test and turn on delay.
Power/Processor Reset
You will see this the rst time the ampli er is powered up or the microprocessor resets. This code will vary from model to model.
DIAGNOSTIC FAUL T CODES
.
Short
Short
Short
Short
Short
Short
Short
Short
Short
Long
Long
Long
Flash
Flash
Flash
Flash
Flash
Flash
Flash
Flash
Flash
Flash
Flash
Flash
Flash
Flash
Short
2
Long
Long
Short
Flash
Flash
Flash
Flash
Flash
Flash
Flash
Flash
Flash
Flash
Flash
Flash
Flash
Flash
Flash
Flash
Flash
Flash
Top
