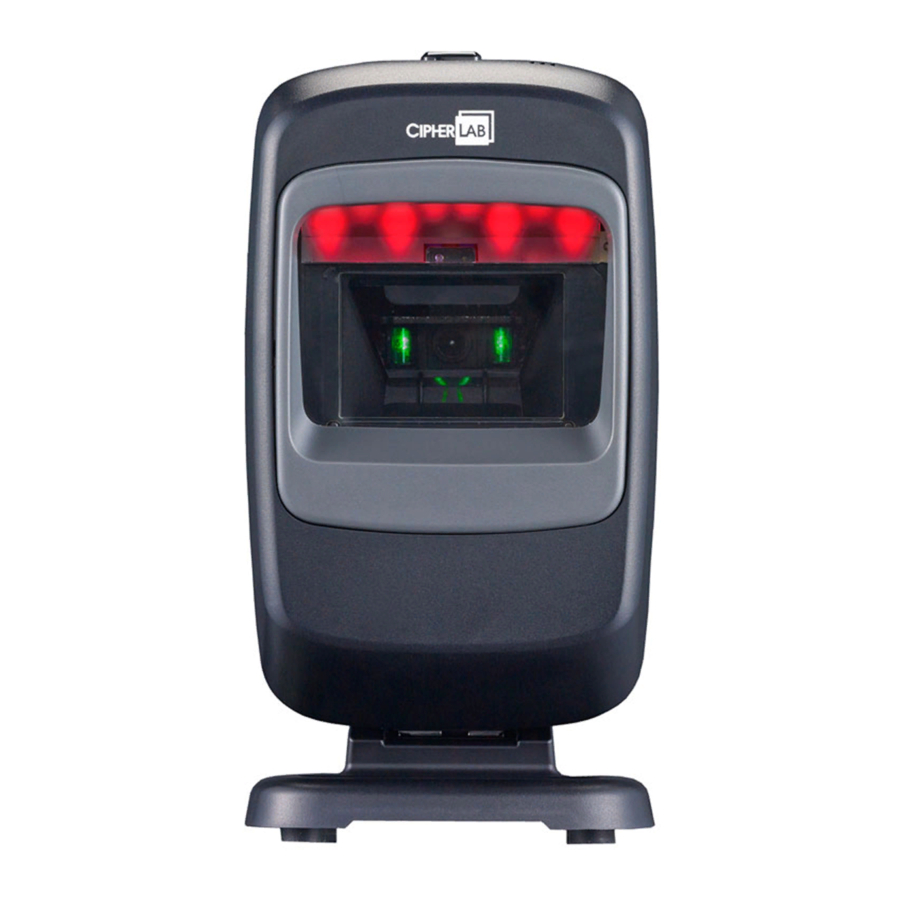
CipherLab 2200 Skrócona instrukcja obsługi
Przeglądaj online lub pobierz pdf Skrócona instrukcja obsługi dla Czytnik kodów kreskowych CipherLab 2200. CipherLab 2200 2 stron. Locking mount bracket
Również dla CipherLab 2200: Skrócona instrukcja obsługi (2 strony)

2200 Series Locking Mount Bracket
Quick Start Guide
Illustration of Screw Hole Size
Package Content:
a
Locking Mount Bracket * 1
a
Philips Tapping Screws (Diameter=5mm; Length=19mm) * 4
a
Plastic Anchors (Inner Diameter=3.2mm; Length=22mm) * 4
Instructions
1. Place this illustration on a proper position like wall or desk and fix it.
2. Drill the holes according to the marks (5mm in diameter, 25mm deep).
1 1 :
5mm
55 mm
www.cipherlab.com
>
Desktop Installation
For desktop position, follow the steps listed below:
1. Consider to leave enough space for cable deployment around the
scanner in advance. Place the locking mount bracket to the target
position on the desk, drill four holes respectively through the bracket
holes.
2. Secure the bracket with the included tapping screws.
2
tapping screw
1
locking mount bracket
After fixing the bracket, slide the bottom of the scanner forward along the
bracket rails until the end.
bracket rails
>>
Wall-mount Installation
For wall mount position, follow the steps listed below:
1. After you fix the illustration to the target position, respectively drill four
holes on the wall.
2. Push the screw anchors to their full depth into the holes.
3. Place the locking mount bracket by aligning the bracket holes with anchor
holes.
4. Insert the screws through the bracket, and screw them into the anchors.
2
screw anchor
4
tapping screw
3
locking mount bracket
After fixing the bracket, slide the bottom of the scanner facing down along
the bracket rails until the end.
bracket rails
50 mm
1
illustration paper
55 mm
