Axxess AX-BASSKNOB Instrukcja instalacji - Strona 2
Przeglądaj online lub pobierz pdf Instrukcja instalacji dla Akcesoria samochodowe Axxess AX-BASSKNOB. Axxess AX-BASSKNOB 6 stron. Bassknob for subwoofer control

INTERFACE FEATURES
• Designed for GM Ethernet amplifiers
• Ethernet data interface w/AXDSP-X (digital signal processor) built-in
• Includes an amplifier bypass harness
• Retains factory chimes including parking sensor chimes
• Retains vehicle's voice prompts
• Chimes and voice prompts go through the aftermarket amplifier and/
or cluster
• Selectable 31 Band graphic EQ or 5 Band Parametric EQ
• 10 individually assignable outputs
For Dash Disassembly Instructions, refer
to metraonline.com.
AxxessInterfaces.com
GENERAL MOTORS 2019-UP
ETHERNET DSPX PACKAGE
Visit axxessinterfaces.com for current application list.
INTERFACE COMPONENTS
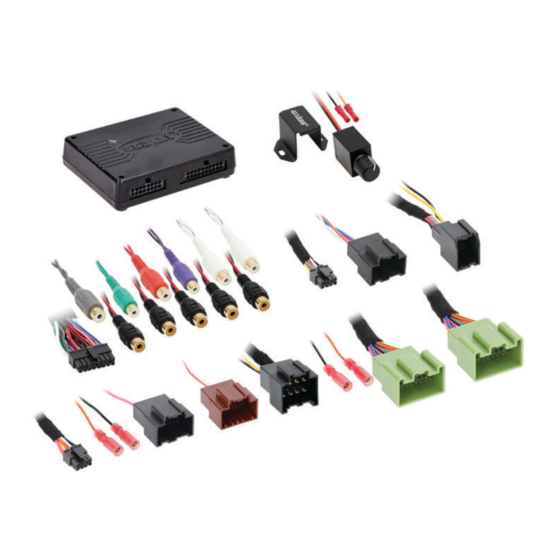
• AXDSPX-ETH1 interface
• AXDSPX-ETH1 harness
• LD-DSP-ETH1
• LD-DSP-ETH2
• AXBK-1
• Independent equalization on each of the 10 outputs
• Independent high pass, low pass, and bandpass filters
• Each channel can be delayed independently up to 10ms
• Clipping detection and limiting circuits
• Settings adjusted via Bluetooth® in a smart device application (tablet
or mobile phone), compatible with both Android and Apple devices
• Read, write, and store configurations for future recall
• Password protect feature available in the mobile app
• Micro-B USB updatable
Enter the year, make, and model of the vehicle in the Vehicle Fit Guide for Radio Install kits.
© COPYRIGHT 2022 METRA ELECTRONICS CORPORATION
• AXDSPX-ETH1 interface harness
(male connectors: 8-pin, 16-pin)
• Amplifier bypass harness
(female connectors: 8-pin black
and 20-pin green )
AXDSPX-ETH1
I N S TA L L AT I O N I N S T R U C T I O N S
TABLE OF CONTENTS
Connections ............................................................2
Installation .............................................................3
Troubleshooting .....................................................4
TOOLS REQUIRED
• Crimping tool and connectors, or solder gun,
solder, and heat shrink • Tape • Wire cutter
• Zip ties
ATTENTION:
With the key out of the
ignition, disconnect the negative battery
terminal before installing this product. Ensure
that all installation connections, especially the
air bag indicator lights, are plugged in before
reconnecting the battery or cycling the ignition
to test this product.
NOTE: Refer also to the instructions included
with the aftermarket radio.
REV. 11/14/22 INSTAXDSPX-ETH1
