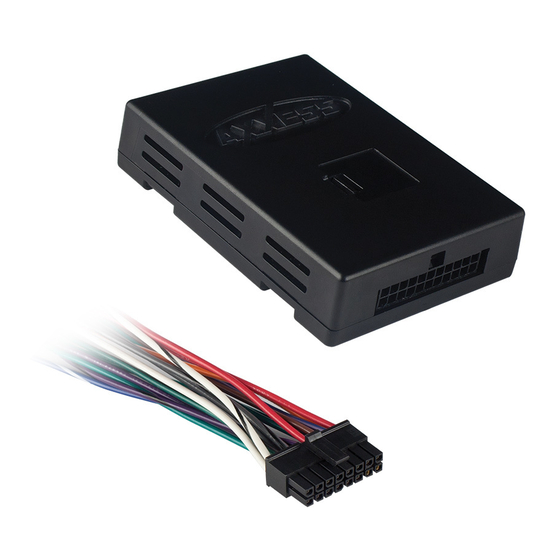
Axxess AX-ADBOX1 series Instrukcje instalacji - Strona 4
Przeglądaj online lub pobierz pdf Instrukcje instalacji dla Sprzęt nagrywający Axxess AX-ADBOX1 series. Axxess AX-ADBOX1 series 4 stron. Ax-adbox series main interface control box

Connections to be made
From the 16-pin harness with stripped leads to the aftermarket radio:
• Connect the (2) Red wires to the ignition/accessory wire.
• Connect the Orange/White wire to the illumination wire. If the aftermarket radio does not have
an illumination wire, tape off the Orange/White wire.
• Connect the Blue/White wire to the amp turn on wire (this wire must be connected to hear sound
from the factory amplifier).
• Connect the Brown wire to the mute wire. If the aftermarket radio does not have a Mute wire,
tape up the Brown wire.
For aftermarket radios with navigation built-in
• Connect the Light Green wire to the parking brake wire
• Connect the Blue/Pink wire to the V.S.S. or speed sense wire
• Connect the Green/Purple wire to the reverse wire.
Note: For the remaining wires, please refer to the instructions supplied with the required
wiring harness.
Axxess Integrate
Installation instructions for AX-ADBOX1
axxessinterfaces.com
•
metraonline.com
IMPORTANT
If you are having difficulties with the
installation of this product, please call our
Tech Support line at 1-800-253-TECH.
Before doing so, look over the instructions a
second time, and make sure the installation
was performed exactly as the instructions
are stated. Please have the vehicle apart
and ready to perform troubleshooting steps
before calling.
K
NOWLEDGE IS
Enhance your installation and fabrication skills by
enrolling in the most recognized and respected
mobile electronics school in our industry.
Log onto www.installerinstitute.com or call
800-354-6782 for more information and take steps
toward a better tomorrow.
Metra recommends MECP
certified technicians
© COPYRIGHT 2004-2015 METRA ELECTRONICS CORPORATION
P
OWER
