Axxess AX-AM-AU96 Instrukcja instalacji - Strona 4
Przeglądaj online lub pobierz pdf Instrukcja instalacji dla Sprzęt nagrywający Axxess AX-AM-AU96. Axxess AX-AM-AU96 8 stron. Audi(with mmi radio), hdmi and camera interface 2008-2012

• Remove the main connector from the media player (CD or DVD player), then connect the
male plug from the AX-AM-AU96 harness into the media player. (Figure A, connection 1)
Note: For the A6 and A8, the media player is located in the glovebox, the left media
player (there will be two media players there).
Note: There are (2) different main harnesses included with the AX-AM-AU96. Use the
one that connects to the vehicle and disregard the other one.
• Connect the factory male factory connector into the female plug from the AX-AM-AU96
harness.
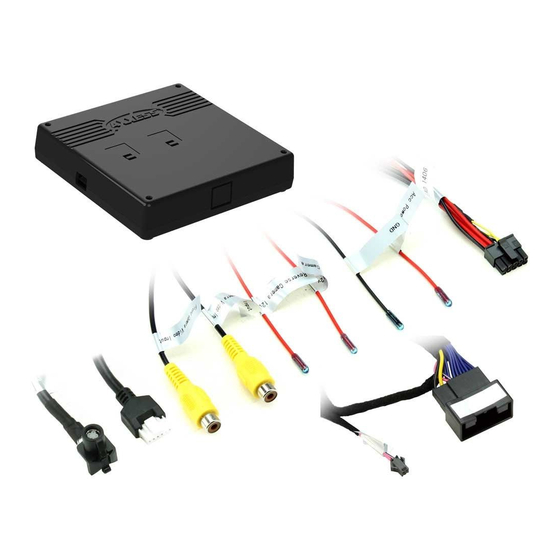
• Connect the AX-AM-AU96 harness into the AX-AM-AU96 interface.
• Remove the LVDS (video) cable from the radio, then connect it to the AX-AM-AU96
interface (LVDS OUT). (Figure A, connection 2)
Note: This factory connector may be gray or yellow.
• Connect the 6-pin to 4-pin LVDS (video) cable into the radio, and then into the AX-AM-
AU96 interface (LVDS IN).
• Remove the 20-pin connector from the climate control, then connect the male plug from
the 20-pin "T" harness into the climate control. (Figure B)
• Connect the factory male factory connector into the female plug from the 20-pin "T"
harness.
• Connect the 2-pin connector from the 20-pin "T" harness to the AX-AM-AU96 harness.
• Connect the 10-pin harness with RCA jacks into the AX-AM-AU96 interface.
4
INSTALLING THE AX-AM-AU96
(Figure A)
(Figure B)
1
2
