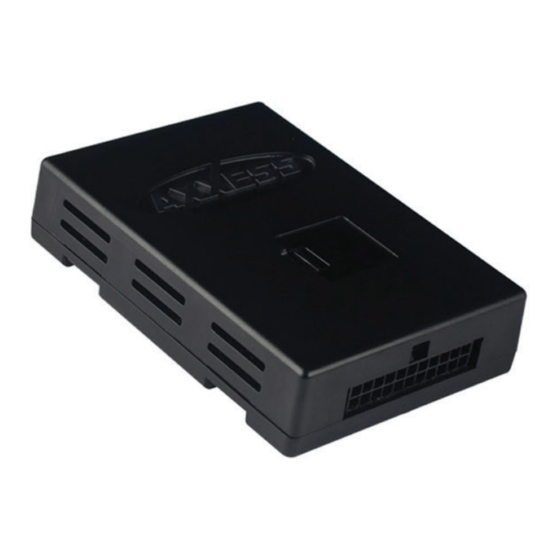
Axxess AXADBX-1 Instrukcja instalacji
Przeglądaj online lub pobierz pdf Instrukcja instalacji dla Sprzęt nagrywający Axxess AXADBX-1. Axxess AXADBX-1 16 stron. Main interface control box

INTERFACE FEATURES
Note: This is a general list for the AXADBX-1 lineup. Please reference the individual harnesses for exact features available.
• Provides accessory power (12-volt 10-amp)
• Maintains the retained accessory power (R.A.P.) feature
• Can be used in non-amplified, or analog/digital amplified models
• Retains warning chimes (GM)
• Retains the turn signal click (GM)
• Provides NAV outputs (parking brake, reverse, speed sense)
• Pre-wired AXSWC harness (AXSWC sold separately)
• Retains OnStar/OE Bluetooth
† Excluding Ford and VW vehicles with digital amps
AxxessInterfaces.com
ADBX Series - Main Interface Control Box
INTRODUCTION
The AXADBX-1 main interface control box is designed for, and must be
used along with, the appropriate vehicle wiring harness (sold separately).
• Adjustable gain control for overall volume digital amplified models
• Adjustable gain control for chimes and OnStar (GM)
• Retains SYNC in Ford vehicles
• Adjustable gain control for SYNC (Ford)
• Retains Blind spot detection system in Chrysler/Dodge/Jeep (if equipped)
• Retains balance and fade†
• Retains digital fade†
• Micro-B USB updatable
© COPYRIGHT 2020 METRA ELECTRONICS CORPORATION
AXADBX-1
I N S TA L L AT I O N I N S T R U C T I O N S
INTERFACE COMPONENTS
• AXADBX-1 interface
• 16-pin harness with stripped leads
APPLICATIONS
See application list on page 2
CAUTION!
All accessories, switches, climate
controls panels, and especially air bag indicator
lights must be connected before cycling the
ignition. Also, do not remove the factory radio
with the key in the on position, or while the
vehicle is running.
REV. 1/30/20 INSTAXADBX-1
