Axxess AXDSPL-GM31 Instrukcja instalacji - Strona 6
Przeglądaj online lub pobierz pdf Instrukcja instalacji dla Sprzęt nagrywający Axxess AXDSPL-GM31. Axxess AXDSPL-GM31 16 stron. Gm dsp interface withpre-wired harness 2019-up
16-pin Header
6
TOSLINK DIGITAL OUTPUT
AX-DSPL-SP
AX-DSPL-SP
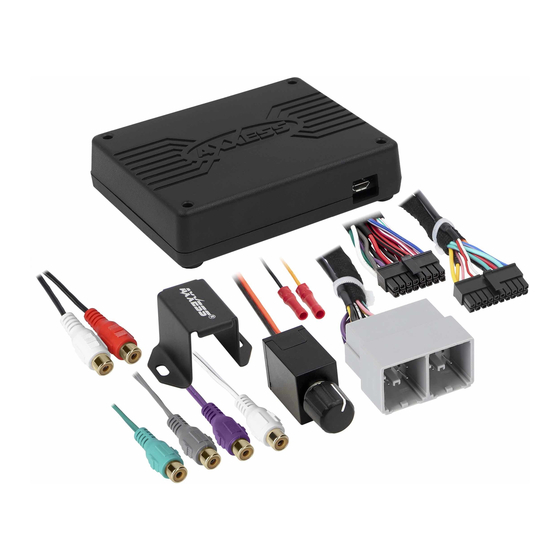
• The AXDSPL-SP Toslink digital output can be used for adding a digital output to the interface.
1. Important! Unplug the interface from the vehicle.
16-pin Header
2. Remove (4) Phillips screws securing the interface, then remove the top cover, exposing
the circuit board within.
3. Locate the 16-pin header on the circuit board.
4.
Important!
Carefully line up the header pins to the AXDSPL-SP, with the Toslink port
facing outward. Gently press down to secure.
Note: Both interfaces may be damaged if installed wrong.
5. Reinstall the top cover provided with the AXDSPL-SP to complete the installation.
AX-DSPL-BT
AX-DSPL-BT