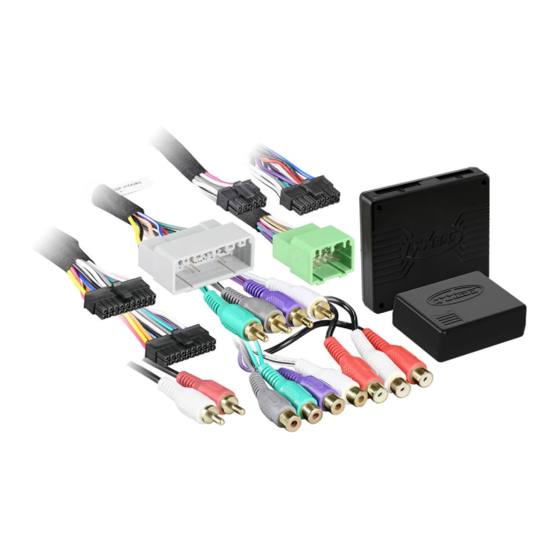
Axxess AX-DSP-HYKIA2 Instrukcje instalacji - Strona 2
Przeglądaj online lub pobierz pdf Instrukcje instalacji dla Elektronika samochodowa Axxess AX-DSP-HYKIA2. Axxess AX-DSP-HYKIA2 4 stron. Hyundai / kia digital signal processor 2011-2016

From the AX-DSP harness to the aftermarket amplifier(s):
16-pin and 20-pin harnesses
• Connect the Blue/White wire to the amplifier turn-on wire/input.
• If installing an AX-BASSKNOB (sold separately), connect the Orange wire to the Orange
wire from the AX-BASSKNOB.
• Connect the Gray RCA jack to the right front input.
• Connect the White RCA jack to the left front input.
• Connect the Green RCA jack to the left rear input.
• Connect the Purple RCA jack to the right rear input.
• Connect the Red & White RCA jacks to the subwoofer input.
• Connect the Red RCA jack to the center channel input.
• Tape off and disregard the following (8) wires, they will not be used in future applications:
Black/Yellow, Brown, Purple, Purple/Black, Red/White, White, White/Black, White/Red
2
CONNECTIONS TO BE MADE
From the amplifier bypass harnesses to the aftermarket amplifier(s):
12-pin Green harness
• Connect the White wire to the front left positive.
• Connect the White/Black wire to the front left negative.
• Connect the Gray wire to the front right positive.
• Connect the Gray/Black wire to the front left negative.
• Connect the Brown/Yellow wire to the front left tweet positive.
• Connect the Brown/Blue wire to the front left tweet negative.
• Connect the White/Red wire to the front right tweet positive.
• Connect the Red/White wire to the front right tweet negative.
• Connect the Green wire to the rear left positive.
• Connect the Green/Black wire to the rear left negative.
• Connect the Purple wire to the rear left positive.
• Connect the Purple/Black wire to the rear left negative.
