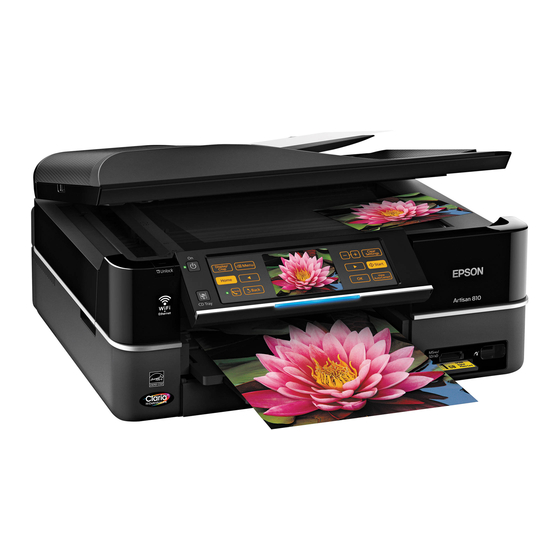
Epson Artisan 725 Zacznij tutaj - Strona 2
Przeglądaj online lub pobierz pdf Zacznij tutaj dla Drukarka Epson Artisan 725. Epson Artisan 725 2 stron. Color inkjet printer
Również dla Epson Artisan 725: Zacznij tutaj (4 strony), Cechy i korzyści (2 strony), Faq (4 strony), Instrukcja serwisowa (20 strony)

For the initial setup, make sure you use
Installing the Ink
the ink cartridges that came with this
Cartridges
printer.
Memasang Kartrid
Untuk pengaturan awal, pastikan Anda
menggunakan cartridge tinta yang
Tinta
disertakan dengan printer.
การติ ด ตั ้ ง ตลั บ หมึ ก
สำหรั บ การตั ้ ง ค่ า เริ ่ ม ต้ น ควรแน่ ใ จว่ า ได้ ใ ช้
5
ตลั บ หมึ ก ที ่ ม าพร้ อ มกั บ เครื ่ อ งพิ ม พ์ เ ครื ่ อ งนี ้
C
D
Remove yellow tape.
Install.
Lepas pita kuning.
Pasang.
แกะเทปสี เ หลื อ ง
ติ ด ตั ้ ง
F
Wait.
Tunggu.
รอ
For Wi-Fi and network connection, see the Wi-Fi/Network Setup Guide. For USB wired
Selecting the
connection, go to the next section.
Connection Type
Untuk koneksi jaringan dan Wi-Fi, lihat Panduan Penyiapan Wi-Fi/Jaringan. Untuk
hubungan dengan kabel USB, lihat bagian berikutnya.
Memilih Jenis
Hubungan
สำหรั บ การต่ อ Wi-Fi และเครื อ ข่ า ย ดู คำแนะนำการตั ้ ง ค่ า เครื อ ข่ า ย/เครื อ ข่ า ยไร้ ส าย Wi-Fi
สำหรั บ การต่ อ สาย USB โปรดดู ห ั ว ข้ อ ถั ด ไป
การเลื อ กชนิ ด การต่ อ
6
A
B
Open.
Unpack.
Buka.
Buka kemasan.
เปิ ด
แกะห่ อ
E
Press (click).
Close.
Tekan (klik).
Tutup.
กด (คลิ ๊ ก )
ปิ ด
The initial ink cartridges will be partly used to charge the print head. These
cartridges may print fewer pages compared to subsequent ink cartridges.
Cartridge tinta yang pertama sebagian akan digunakan untuk mengisi print Head.
Cartridge ini mungkin mencetak lebih sedikit halaman daripada cartridge tinta
berikutnya.
ตลั บ หมึ ก ที ่ ต ิ ด ตั ้ ง ลงในเครื ่ อ งพิ ม พ์ เ ป็ น ครั ้ ง แรก หมึ ก บางส่ ว นจะถู ก ใช้ ใ นการเคลื อ บหั ว พิ ม พ์
ทำให้ ต ลั บ หมึ ก ดั ง กล่ า วอาจพิ ม พ์ ไ ด้ จ ำนวนหน้ า น้ อ ยกว่ า ตลั บ หมึ ก อั น ต่ อ ไปเล็ ก น้ อ ย
USB Wired Connection
Hubungan dengan
Kabel USB
การต่ อ สาย USB
7
A
Mac OS X
Windows
Insert.
Windows: No installation screen? &
Masukkan.
Windows: Tidak ada layar instalasi? &
ใส่ แ ผ่ น
Windows: ไม่ ม ี ห น้ า จอการติ ด ตั ้ ง ?
&
D
E
Select and follow the instructions.
Installation complete.
Pilih dan ikuti petunjuk.
Instalasi selesai.
เลื อ กและปฏิ บ ั ต ิ ต ามคำแนะนำ
การติ ด ตั ้ ง เสร็ จ สมบู ร ณ์
Getting More
Information
Dapatkan Berbagai
Informasi
การรั บ ข้ อ มู ล เพิ ่ ม เติ ม
Basic Operation Guide
Panduan Dasar Pemakaian
คู ่ ม ื อ การใช้ ง านพื ้ น ฐาน
Do not connect the USB cable until you are instructed to do so.
Jangan hubungkan kabel USB sampai Anda diminta untuk
melakukannya.
อย่ า เชื ่ อ มต่ อ สายเคเบิ ล USB จนกว่ า ท่ า นจะได้ ร ั บ คำแนะนำในการเชื ่ อ มต่ อ
If the Firewall alert appears, allow access for Epson applications.
Bila muncul peringatan Firewall, perbolehkan akses untuk aplikasi
Epson.
หากมี ข ้ อ ความเตื อ นจากไฟร์ ว อลล์ ให้ อ นุ ญ าตการเข้ า ถึ ง สำหรั บ แอพพลิ เ คชั ่ น ของ
Epson
B
C
Click.
Follow the instructions.
Klik.
Ikuti petunjuk.
คลิ ๊ ก
ปฏิ บ ั ต ิ ต ามคำแนะนำ
User's Guide/Network Guide
Panduan Pengguna/Panduan Jaringan
คู ่ ม ื อ ผู ้ ใ ช้ / คู ่ ม ื อ การเชื ่ อ มต่ อ เครื อ ข่ า ย
