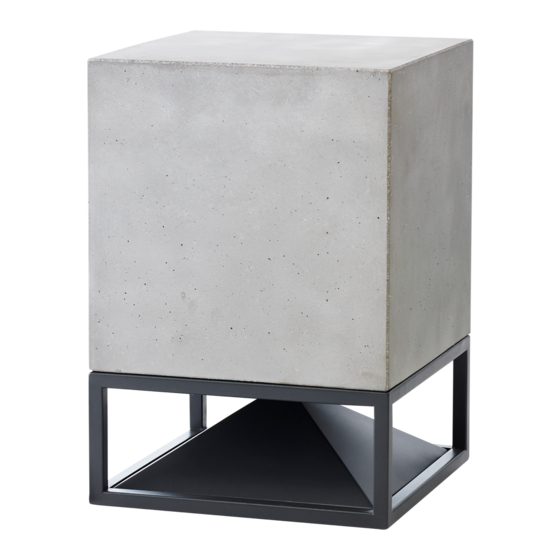
ARCHITETTURA SONORA CUBE400 Instrukcja serwisowa - Strona 4
Przeglądaj online lub pobierz pdf Instrukcja serwisowa dla Głośniki ARCHITETTURA SONORA CUBE400. ARCHITETTURA SONORA CUBE400 6 stron.

2.1 > Crossover Board Assembly:
x
x
4 >
Close the box cover tightening the four star screws.
5 >
Check the cover tightness (accurate resting on its seat) and the cable glands (making sure cables
have no clearance or air leakage).
3.0 > Possible Cases.
3.1 > Cube Base Replacement:
1 > 2
Follow steps
of "1.0 Disassembly Procedure" and then steps
3.2 > Coaxial Speaker Replacement:
1 > 5
Follow steps
of "1.0 Disassembly Procedure" and then steps
3.3 > Crossover Board Replacement:
1 > 3
Follow steps
of "1.1 Crossover Board Removal" and then steps
3.4 > Cube Body Replacement:
1 > 6
Follow steps
of "1.0 Disassembly Procedure" and then steps
3.5 > Turn a Fullrange Cube into a Subwoofer Cube:
1 > 6
Follow steps
of "1.0 Disassembly Procedure".
Z
8 >
under the
appropriate groove carved into the
Cube's body and pull the cable outsi-
de. Seal the cable into the groove with
silicone, leaving around 10cm of cable
inside the Cube.
1 >
x
2 >
3 >
x
7 >
and remove the crossover box.
Slip the bipolar cable into the slot
ange and through the
Place the board inside the box and secure it to the box by screwing the four
star screws (X), paying attention not to force the plastic thread.
Arrange the internal wires according to the attached image, in order to avoid
inappropriate contacts between wiring and crossover components.
Solder the six connection points respecting the colors of the polarities
(welder temperature 400° C).
7 > 9
of "2.0 Assembly Procedure"
5 > 9
of "2.0 Assembly Procedure"
1 > 5
of "2.1 Crossover Board Assembly"
3 > 9
of "2.0 Assembly Procedure"
Desolder the bipolar cable from its connection in the crossover board (Z)
-
+
white
brown
+
+
HF
LF
yellow
brown
-
-
LF
HF
green
white
9 >
Place the subwoofer over the
inner
ange, overturned with the
connectors visible and insert the
silicone gasket over the its basket.
Stagnate the connectors and the
bipolar cable and then weld the
contacts (welder temperature 400°C)
on the subwoofer, quickly enough to
avoid thermal damage to wires and
internal connections of the driver.
(Brown > +; White > -)
