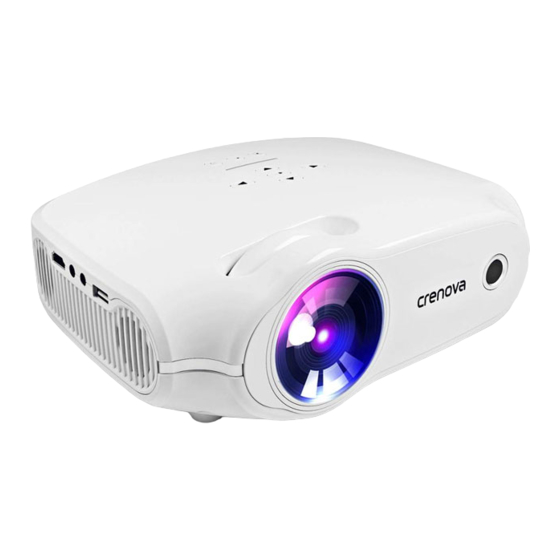
Crenova XPE498 Podręcznik użytkownika - Strona 10
Przeglądaj online lub pobierz pdf Podręcznik użytkownika dla Projektor Crenova XPE498. Crenova XPE498 13 stron.

Insert a SD card into SD card slot, press the Source button and select USB/SD as input source.
Press Left/Right to choose multimedia contents you want to display (Movie/Music/Photo/Text)
on the multimedia interface. Press Enter/OK to confirm.
Press Enter/OK to select and open your SD card.
Press Up/Down/Left/Right to select the content/file in your SD card, then press Enter/OK to
play/open it. Press the Play/Pause button to play or stop the content.
Connecting to an AV Equipment
When connecting to an AV equipment through AV input port using 3-in-1 AV cable, press the
Source button and select AV as input source.
Connecting to a HDMI Device
When connecting to a HDMI device through HDMI port, press the Source button and select HDMI
as input source.
Connecting to a VGA Device
When connecting to a VGA device through VGA port, press the Source button and select PC-RGB
as input source.
Connecting to an Audio Device
Connect the projector to an audio device through 3.5mm audio jack.
Note: Ensure format and resolution of Movie/Music/Photo/Text projected are supported by the
projector.
For supported format details, please check the table below.
Supported Video Formats
Supported Audio Formats
Supported Image Formats
Supported File Format
Projector Cleaning and Maintenance
For optimum watching experiences and longer lifetime, please clean the projector periodically.
For projector maintenance, please seek help from or under the guidance of specified persons. If it
is necessary to replace any parts of the projector, please feel free to contact the dealer or
qualified customer service team. Before cleaning and maintaining the projector, please turn off
MPG/MPE/VOB/DAT/BUK/TS0/TRP/TS/TP/
M2T/RM0/RMV/RM/RMVB/AVI/MP4/DIV/
MOV/MKV/WSF/ASF/FLV/WMV/ASM/3GP/
3G2/H265
MP3/WMA/AAC/WAV/M4A
JPG/JPEG/BMP/GIF/PNG/TIF
TXT
