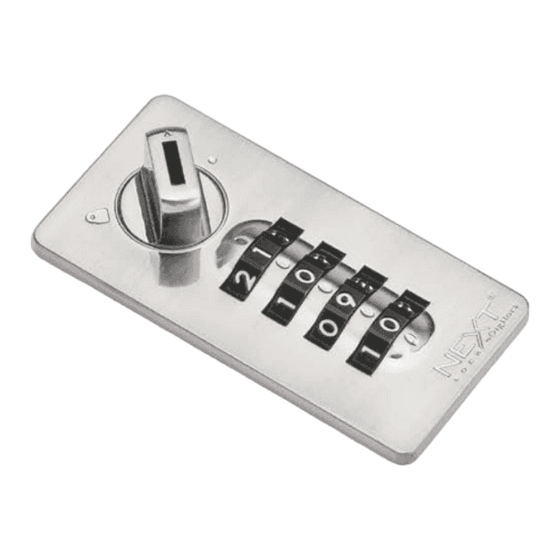
Digilock Next Mech Dial Combo Instrukcja obsługi produktu - Strona 3
Przeglądaj online lub pobierz pdf Instrukcja obsługi produktu dla Zamki Digilock Next Mech Dial Combo. Digilock Next Mech Dial Combo 3 stron.

Replace Key Set and Core
Please contact [email protected] if your Manager or Remove key(s) are lost or stolen to purchase a new set of keys and replacement cores
for all locks.
If your Manager Key was lost or stolen, you can remove lock cores with your existing Removal key. Once you remove the lock cores, contact
[email protected] to purchase a new set of keys and lock cores.
1
Turn the knob to the unlocked
4
New Core
Triangle Mark
aligned with
Raised Wafers
Insert the replacement Removal Key into
the old Knob and place the NEW Core on
the Knob. The triangle mark
should be aligned with the Raised Wafers.
051319
051319
PG-NLMD-DEN
Mounting plate
Product Guide
Mounting
Screws
2
Manager key
Removal key
Factory default combination 0-0-0-0
Insert the old Removal Key.
position.
Turn the Knob to the Core Removal
Position. The triangle mark on the Knob
will align with the circle mark
5
Insert the new Core subassembly into the
lock. The triangle mark on the Knob
on the knob
align with the circle mark
Dial Combo
Note "R" on
Removal Key
on the face.
will
on the face.
Cam in Locked Position
must overlap Strike
Plate by at least ¼"
(6.35 mm)
Shared Use
3
Spacer Requirements
Door thickness
Screw type
0 – 5 mm
5 – 8 mm
8 – 12 mm
12 – 16 mm
16 – 20 mm
Pull the Removal Key to remove the old
Knob and Core.
6
Turn the knob to the unlocked
Remove the Replacement Removal Key.
Phone: 707 766 6000
www.digilock.com | [email protected]
m
3
*Spacer require
✓
M3×10
✓
M3×14
M3×10
M3×14
M3×18
position.
