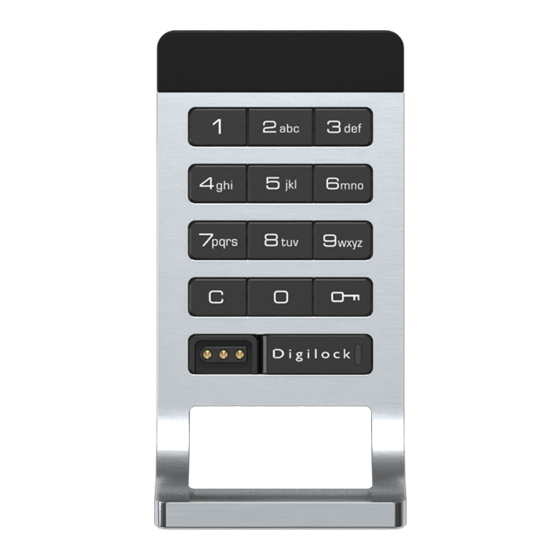
Digilock Curve Instrukcja obsługi produktu - Strona 4
Przeglądaj online lub pobierz pdf Instrukcja obsługi produktu dla Czytnik kart Digilock Curve. Digilock Curve 11 stron. Keypad | basic & advanced
Również dla Digilock Curve: Instrukcja obsługi produktu (8 strony)

PROGRAMMING INSTRUCTIONS - SET LOCK FUNCTIONALITY
Each lock can be set for either shared or assigned use functionality. Press
assigned use, LED is green.
To Set for Assigned Use
1
Press
= ` 65 `
The red LED will turn on
PROGRAMMING INSTRUCTIONS - ASSIGN USER CREDENTIALS
Note: For assigned use functionality only
Make sure that the lock is set for assigned use functionality (a green LED will flash when
Codes and/or User Keys) may be assigned to each lock. Repeat the steps below for each credential that needs to be assigned to the
lock(s).
Assign User Codes
1
Press
= ` 55 `
The LED will turn on.
Assign User Keys
1
Press
= ` 55 `
The LED will turn on.
4
P R O DU CT GU I D E
Keypad | Basic & Advanced
2
Insert the Programming Key.
.
A two-tone beep will be heard
and the green LED will flash
once..
2
Insert a valid Manager Key.
.
A two-tone beep will be heard.
2
Insert a valid Manager Key.
.
A two-tone beep will be heard.
to check functionality. If in shared use, LED is red. If in
=
To Set for Shared Use
1
Press
.
= ` 56 `
The green LED will turn on.
is pressed). Up to 20 user credentials (User
=
3
Press
[new 4-7 digit code]
=
`
A two-tone beep will be heard.
3
Insert a User Key.
Two sets of two-tone beeps will be heard
and the LED will turn off.
2
Insert the Programming Key.
A two-tone beep will be heard
and the red LED will flash once.
4
.
Press
[same 4-7 digit code]
=
Two sets of two-tone beeps will
be heard and the LED will turn
off.
.
`
