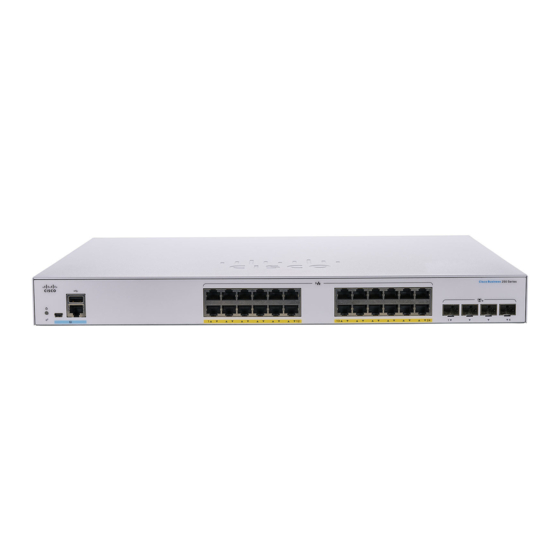
Cisco Business 250-48PP-4G Skrócona instrukcja obsługi - Strona 2
Przeglądaj online lub pobierz pdf Skrócona instrukcja obsługi dla Przełącznik Cisco Business 250-48PP-4G. Cisco Business 250-48PP-4G 2 stron. Smart switches

Get Connected
Preparing Your Product
Plug the power cord of the switch into an outlet. Connect your computer to the switch using an ethernet cable.
Ensure that your computer is on and proceed to "Get Configured".
LED Functions
GREEN
LED
STEADY
System
Switch has acquired an IP
address through DHCP or a
static IP address has been
manually configured.
LINK/ACT
Link between corresponding
port and another device
detected.
Cisco Business 250 Series Smart Switches | Quick Start Guide
GREEN
AMBER
OFF
FLASHING
FLASHING
Booting, performing self tests or
Hardware
Switch is powered off.
acquiring IP address or factory
failure
default IP address is being used.
detected.
Port is passing traffic.
Link down.
Get Configured
To connect the smart switch:
1
The switch will attempt to acquire an IP address
if there is a DHCP server in the network. If the
switch cannot acquire an IP address through DHCP,
it uses the factory default IP address of
192.168.1.254, with a subnet of /24.
a. If the switch is using the factory default
IP address of 192.168.1.254/24, you must choose
an IP address for the computer in the range of
192.168.1.2-192.168.1.253 that is not already in use.
Access the smart switch:
1
Open a web browser window.
2
Enter the switch IP address in the address bar and
press Enter. For example, http://192.168.1.254.
The
Switch Login Page
displays.
3
Enter the default login information:
Username is
cisco
●
●
Default password is
cisco
(passwords are case-sensitive)
4
Click
Log
In.
If this is the first time that you have logged on
with the default username and password, the
Change Password page opens. The rules for
constructing a new password are displayed
on the page.
Mounting
For mounting instructions, please see the
Cisco Business 250 Series Smart Switches Administration
Support
For Cisco support and additional documentation, including mounting instructions and the
administration guide, visit
cisco.com/go/cbs250
©2020 Cisco and/or its affiliates. All rights reserved. Cisco and the Cisco logo are trademarks or registered trademarks of Cisco and/or its affiliates in the U.S. and other countries.
To view a list of Cisco trademarks, go to this URL: https:// www.cisco.com/go/trademarks. Third-party trademarks mentioned are the property of their respective owners.
The use of the word partner does not imply a partnership relationship between Cisco and any other company. (1110R)
b. If the IP address is assigned by a DHCP server,
make sure the DHCP server is running and can
be reached from the switch and the computer.
It might be necessary to disconnect and
reconnect the devices for them to discover their
new IP addresses from the DHCP server.
NOTE:
Details on how to change the IP address
on your computer depend upon the type of
architecture and operating system you are using.
Use the computer Help and Support functionality
to search for "IP Addressing."
5
Enter a new password and confirm the password.
NOTE:
Password complexity is enabled by default.
The password must comply with the default
complexity rules.
6
Click Apply.
Make sure that any configuration changes made
are saved before exiting from the web-based
Save
interface by clicking on the
icon. Exiting,
rebooting or losing power before you save your
configuration will result in all changes being lost.
The Getting Started window displays. You are now ready
to configure the switch. Refer to your Administration
Guide for further information.
Guide.
