Crestron TS-770 Skrócona instrukcja obsługi - Strona 5
Przeglądaj online lub pobierz pdf Skrócona instrukcja obsługi dla Stojaki i stojaki Crestron TS-770. Crestron TS-770 6 stron. Swivel mount kit
Również dla Crestron TS-770: Pierwsze kroki (2 strony), Skrócona instrukcja obsługi (2 strony), Szybki start (4 strony)
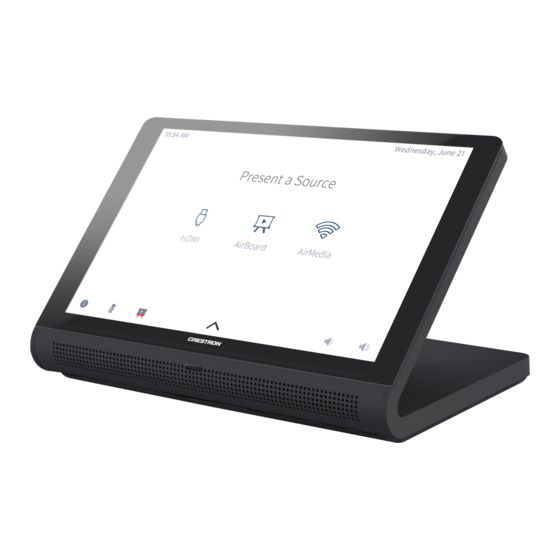
TS-770/TS-1070
7 in. and 10.1 in. Surface Mount Touch Screens
To access the web configuration interface using the Crestron XiO Cloud
service:
1. Record the MAC address and serial number that are labeled on the
shipping box or rear panel of the device. The MAC address and serial
number are required to add the device to the service.
2. Do either of the following:
For existing accounts, access the Crestron XiO Cloud service at
l
https://portal.crestron.io.
For new accounts, register for a Crestron XiO Cloud account at
l
www.crestron.com/xio-cloud-registration.
3. Claim the device to the service as described in the Crestron XiO Cloud
User Guide (Doc. 8214) at www.crestron.com/manuals.
4. Select the device from the cloud interface to view its settings.
Set the Time Zone
The time zone must be set on the touch screen if it will not be paired with
a control system IP table.
To set the time zone:
1. Access the web configuration interface using either the touch screen
IP address or the Crestron XiO Cloud service.
2. Select the Settings tab.
3. Navigate to System Setup > Time/Date.
4. Select the time zone where the touch screen will be used from the Time
Zone drop-down menu.
5. Click Save Changes on the top right of the screen.
Visit the Product Pages
Scan the QR code to visit the product page.
TS-770
www.crestron.com/model/6510820
TS-1070
www.crestron.com/model/6510821
Quick Start
5