Crestron FlipTop FT2-202-ELEC-PTL Skrócona instrukcja obsługi - Strona 3
Przeglądaj online lub pobierz pdf Skrócona instrukcja obsługi dla Systemy kontroli Crestron FlipTop FT2-202-ELEC-PTL. Crestron FlipTop FT2-202-ELEC-PTL 9 stron. Cable management system, 202 size, electrical, pass-through lid
Również dla Crestron FlipTop FT2-202-ELEC-PTL: Skrócona instrukcja obsługi (2 strony)
FT2-202-ELEC-PTL
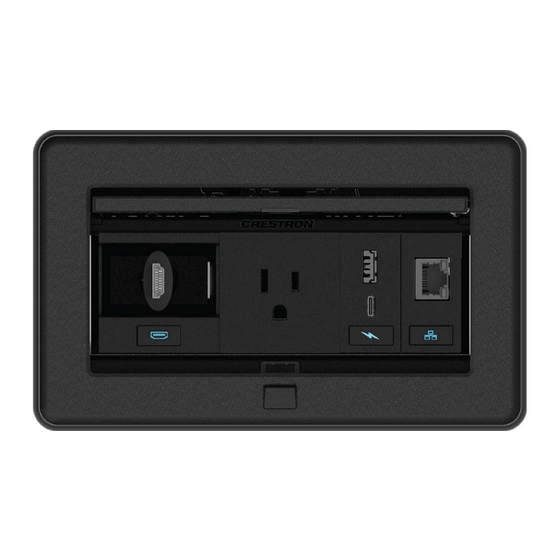
FlipTop™ FT2 Series Cable Management System, 202 Size, Electrical, Pass-Through Lid
5. Carefully tighten the four swiveling dogs in each corner of the FlipTop
assembly clockwise until the FT2 assembly is secured in place against
the table. Do not overtighten the swiveling dogs.
CAUTION:
A screwdriver or manual torque screwdriver at its lowest
setting may be used to tighten the swiveling dogs. Avoid stripping
the swiveling dogs and damaging the table.
If removing the FT2-202-ELEC-PTL from the table, ensure that the
screwdriver rotation is set correctly before loosening the swiveling
dogs.
Connect the FlipTop Assembly
Access the two network connectors and two power bus barrel jacks on
the underside of the FT2 assembly.
Connect the Network
Automate the one-touch retractors by connecting all retractors in an
FT2 assembly to a control system and a switch, or to a DMPS via a single
Cresnet® cable. Custom programming can trigger the retractors after
five minutes of no video detected.
Connect the FT2 assembly to a Crestron control system or DMPS3 via
the 3-pin connector using standard Cresnet cable. The red power lead is
not connected and should be terminated.
Quick Start
3