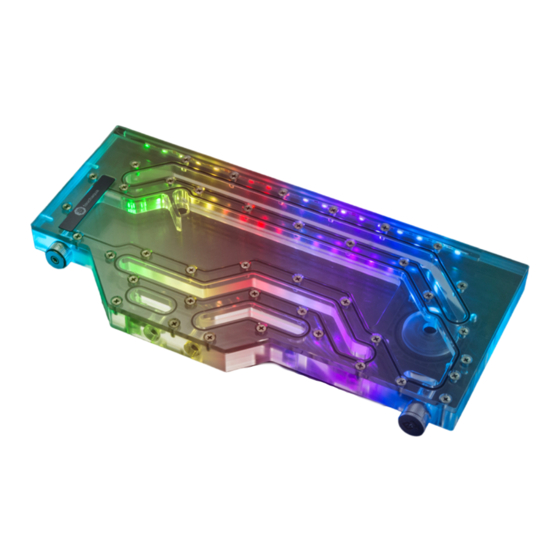
Bitspower Sedna PH518 Instrukcja instalacji - Strona 2
Przeglądaj online lub pobierz pdf Instrukcja instalacji dla Obudowa Bitspower Sedna PH518. Bitspower Sedna PH518 6 stron. For phanteks 518-pwm
Również dla Bitspower Sedna PH518: Instrukcja instalacji (17 strony)

供電與馬達/Power Supply and Pump/供电与马达
大4PIN供電線材
3PIN/4PIN transfer 4PIN
大4PIN供电线材
S1馬達除了可由主機板供電外,亦可
透過轉接線由電源供應器直接供電。
Other then from the motherboard,
the S1 pump can be powered from
the power supply via a patch cord.
S1水泵除了可由主机板供电外,亦可
透过转接线由电源供应器直接供电。
TA-EXAIR
安裝方式/Installation/安装方式
TA-EXAIR
建議將排氣接頭安裝於
水箱且在水位之上。
It is recommended to
install the air-exhaust
fitting on the reservoir,
above the water line.
建议将排气接头安装于
水箱且在水位之上。
Step 1
將按鈕按下即可排氣。
Press the button to
release the air.
将按钮按下即可排气。
注意,跑水前,請先確認所有零件已安裝在正確的位置上,在不開主機,單開水泵的情况下,進行24小時的跑水測試, 確保無漏水情况後再開主機,避免發生漏水而導致電腦零件的損壞。
Before filling in the water, please make sure all the components are installed correctly. To prevent any leakage which may damage the PC components, please perform a 24-hour leaking test
with only the pump connected to the power supply .
注意,跑水前,请先确认所有零件已安装在正确的位置上,在不开主机,单开水泵的情况下,进行24小时的跑水测试, 确保无漏水情况后再开主机,避免发生漏水而导致电脑零件的损坏。
本公司保留對產品的設計更改以及解釋的權力,如有更動恕不另行通知,產品顏色與配件以實物為準。
Bitspower reserves the right to change the product design and interpretations. These are subject to change without notice. Product colors and accessories are based on the actual product.
本公司保留对产品的设计更改以及解释的权力,如有更动恕不另行通知,产品颜色与配件以实物为准。
Sedna PH518 for Phanteks 518
BPTA-EFW
安裝方式/Installation/安装方式
S1水泵規格
額定電壓:12V DC
功
最大流量:960L/h
噪 音:40~45dBA
最高系統溫度:60℃
A B
PWM:有
使用壽命:50,000小時
A 電源負極 -
保
B 電源正極 +
S1 Pump Spec.
A Negative electrode -
Rated voltage:12V DC
B Positive electrode +
Power consumption:17W
A 电源负极 -
Maximum flow:960L/h
Noise:40~45dBA
B 电源正极 +
Maximum system temperature:60℃
PWM:Yes
MTBF:50,000 hours
Warranty:2 years
S1水泵規格
额定电压:12V DC
功
最大流量:960L/h
噪 音:40~45dBA
最高系统温度:60℃
PWM:有
使用寿命:50,000小时
保
BPTA-EFW
建議將洩水接頭安裝於
水冷系統的最低點。
It is recommended to install the water-exhaust
fitting at the lowest point of the water cooling
system.
建议将泄水接头安装于水冷系统的最低点。
Step 1
將洩水接頭上蓋旋起。
Unscrew the top of the water-exhaust fitting.
将泄水接头上盖旋起。
Step 2
換上洩水配件,旋入配件過程中即會逐漸洩
水,建議外接管線以利洩水。
Replace with the water-exhaust part. When
screwing in the part, water will start to
discharge, it is recommended to connect
tubing beforehand to control the water outflow.
换上泄水配件,旋入配件过程中即会逐渐泄
水,建议外接管线以利泄水。
-PWM
耗:17W
固:2 年
耗:17W
固:2 年
