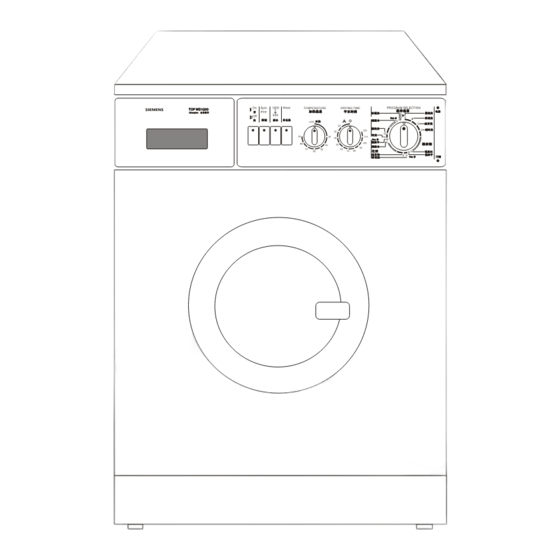
Siemens TOP WD 1200 Instrukcja obsługi i instalacji - Strona 22
Przeglądaj online lub pobierz pdf Instrukcja obsługi i instalacji dla Spryskiwacz Siemens TOP WD 1200. Siemens TOP WD 1200 28 stron.

en
Built-under or built-in
appliance installation
The appliance must be built under or built in
prior to connecting the power supply.
The appliance can be built into or under a kitch-
en work surface. For this purpose, a recess
width of 60cm is required.
! The washing machine must only be installed
under a one-piece worktop that is permanently
attached to the surrounding cabinets.
Caution
! For safety reasons in built-under installation,
a metal cover* must be assembled by a spe-
cialist in place of the appliance cover plate.
* The metal cover (kit) can be obtained from a
specialist store or the Customer Service.
Removing the transit bolts
Fig. 6 , 7
! Before us ing the machine for the first time,
it is imperative to remove the transit bolts
from the back of the machine.
! Use the spanner provided only if a ring
spanner i s unavailable.
! Caution! If the spanner slips, there is danger
of injury.
1. Undo the 4 fixing bolts A and remove them.
2. Remov e the four spacers B. They will fall to
the floor when you tip the machine.
3. Insert c over caps C which you will find in
the bag containing the documentation.
! Keep the transit bolts for any future trans-
port (moving house).
Transport the machine only after the transit
bolts have been fitted to the back. To do
this, unscrew the back panel and proceed
in reverse order (1 and 2 above).
20
Installing the machine
! When installing and connecting the ma-
chine, special attention must be paid to the
safety advice and warnings which have
been identified with an exclamation mark !
Always comply with all regulations issued by
your local water and power authorities.
! Take care when lifting the machine! Risk of
injury.
! Do not lift the machine by any of the protru-
ding parts.
! If in doubt, have the machine connected
by a qualified specialist.
Before leaving the factory, every machine is
thoroughly tested under operating conditions.
Any moisture or residual water which you may
find in the machine or drain hose is left over
from these tests.
Installation location
To ensure the proper operation of the ma-
chine, please pay attention to the followings
when you install the machine.
! The floor should be solid and flat, never
put the machine on the soft carpet or direct
onto a wooden floor.
! Keep the environment dry and vented.
! Never put small appliances, such as micro-
wave oven on the machine.
! Keep the machine away from the flammable
equipment, such as candle; cooking stove;
liquefied gas container etc.
! Never put pressure containers on the
machine.
! Never put machine over the opening of an
uncovered drainage.
! In the case of timber beam floors, place
the machine on a water-resistant wooden
board that is at least 30 mm thick and is
screwed to the floor. If possible, the ma-
chine should be sited in the corner of a
room.
Secure the machine by attaching retaining
straps to the feet.
! If the machine is installed on a plinth, the
,
machine s feet must be secured with brack-
ets straps to prevent it sliding while spinning.
Fig. 9
