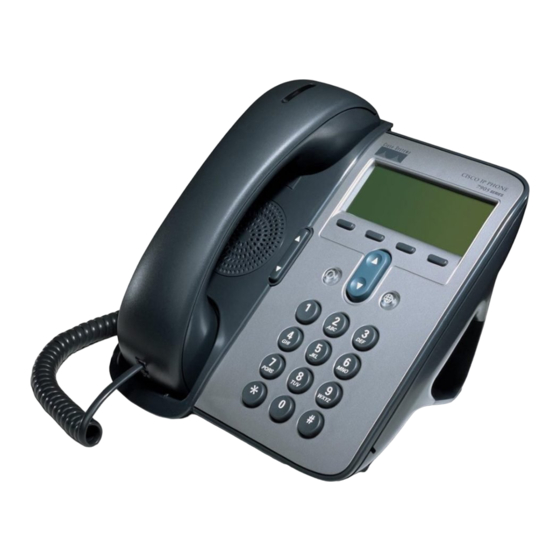
Information Features
Call History Features
To view missed calls, Press the GLOBAL SERVICES button (right button next to the
Step 1)
Up/Down SCROLL button).
Use the SCROLL button to move down to the Directories option and press the Select soft
Step 2)
key.
Step 3)
Use the SCROLL button to select the desired call history option: Missed Calls, Received
Calls or Placed Calls.
Press the Select soft key to display the desired call history.
Step 4)
When you are finished, press the Exit soft key twice to exit the Directory Menu.
Step 5)
Note: To speed dial a missed call, received call, or placed call, press the Dial soft key when the desired
number is selected.
Example:
Press the GLOBAL SERVICES button.
Step 1)
SCROLL down to the Directories option and press the Select soft key.
Step 2)
Step 3)
Use the SCROLL button to select the desired call history (Missed Calls) option in the
Directory Menu.
Step 4)
Use the SCROLL button to select the number you want to speed dial.
Step 5)
Press the Dial soft key to speed-dial the selected number.
Notes: For shared lines, missed calls show up on all phones that have the shared line occurrence.
Use the Clear soft key to clear all items in a Missed, Received or Placed category. Entries will
also eventually be deleted as new items fill up the list. Individual Missed, Received or Placed
calls entries on a telephone can not be deleted. They can only be deleted as a group.
LCD Display Contrast
Press the GLOBAL SERVICES button.
Step 1)
SCROLL down to the Settings option and press the Select soft key.
Step 2)
Step 3)
Use the SCROLL button to select the Contrast option on the Settings Menu.
Step 4)
Press the Select soft key to display the contrast settings.
Use the Up and Down soft keys to set the desired intensity of the LCD display and press the
Step 5)
OK soft key to save your settings.
Press the Save soft key to save your selection and exit the Settings Menu.
Step 6)
Setting up Voice Mail
Note: The default password for voicemail is "123456". You will be asked to change this password
during setup. Passwords must be at least six digits long. Set up your personal voicemail using
your primary telephone while using line 1.
Set up your personal voicemail account for the first time. Remember to think about your personal
greeting (greeting callers hear prior to leaving you a voicemail) and write out if needed.
Press the Messages soft key and follow the voice instructions.
Step 1)
Press Option 4.
Step 2)
Step 3)
Select Option 1 for Greeting Setup.
Step 4)
Record your Greeting.
If you forget your password, please contact your network administrator.
UMR Information Technology
Quick Start Guide: Cisco 7912 IP Telephone – 9

