4 Configuration and Project Engineering
4.1 Parameterizing the SINAMICS V20
4.1
Parameterizing the SINAMICS V20
Table 4-1: Table for parameterizing the SINAMICS V20 drive
No.
General:
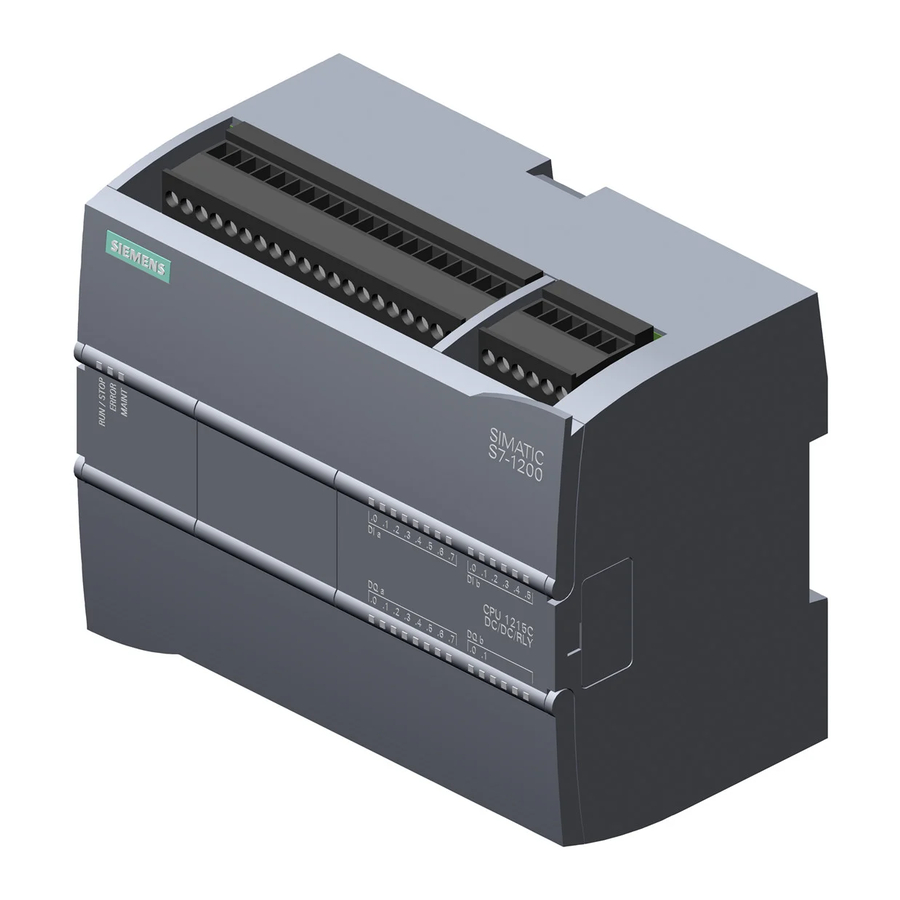
The SINAMICS V20 is parameterized using the built-in BOP. For information on how
to use the BOP, please refer to the SINAMICS V20 Operating Instructions in \10\.
Unless expressly noted, press the
1.
Provided that the SINAMICS V20 is in the as-supplied state and the display
displays
If the inverter has already been running, the display menu with the output
frequency is visible on the BOP. In this case, reset the device to factory default.
To do this, use
change the following parameters:
2.
The display displays
Use the arrow keys
region and use
3.
The LED on the BOP flashes green. You are now in the setup menu in the "Motor
data" step and, provided that you are running the example with a connected
motor, you can start entering the motor parameters. When you have finished
entering the motor parameters or if you do not want to enter any motor
parameters, press
4.
Use the arrow keys
use
5.
Use
steady green light.
Use
6.
7.
Set the USS PKW length to 4:
8.
Transfer the changed parameter values from RAM to EEPROM:
Set the access level back to "Standard".
9.
10.
Use
5
When resetting to factory default, connection parameters P2010, P2011, P2023 used for the
USS protocol are not automatically reset in the process. However, they are supplied in step 4 of
the table.
SINAMICS V20 at S7-1200/1500 via USS
Entry ID: 109480894,
V1.0,
, continue with no. 2.
to go from the display menu to the parameter menu and
Commissioning parameter
(LED on the BOP flashes green.)
Reset to factory setting
and the LED on the BOP has a steady green light.
to select the 50/60 or Hz/hp setting that matches your
to exit the screen.
. You are now in the "Connection macro" step.
to choose the connection macro
to select it.
(>2s) to return to the display menu. The LED on the BOP returns to a
to go to the parameter menu and set the user access level to "Expert":
P0003 3
Access level
P2013 4
PKW length
P0971 21
RAM to EEPROM
P0003 1
Access level
(>2s) to return to the display menu.
09/2018
Action
and
buttons <2s.
P0010 030
5
P0970 21
(Cn010) and
20