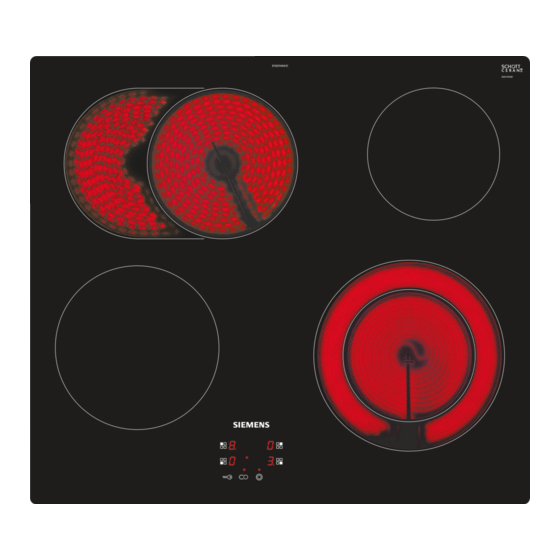
Siemens EF6 Series Instrukcja obsługi - Strona 10
Przeglądaj online lub pobierz pdf Instrukcja obsługi dla Hob Siemens EF6 Series. Siemens EF6 Series 16 stron.
Również dla Siemens EF6 Series: Instrukcja obsługi (12 strony), Instrukcja obsługi (8 strony), Instrukcja obsługi (12 strony), Instrukcja obsługi (16 strony), Podręcznik użytkownika (12 strony)

Pans for the sensor frying system
System pans as optional accessories
You can also purchase a frying pan which is ideally suited to
frying using the sensor frying system from your specialist
electrical retailer or at www.siemenseshop.com: HZ390230
Frying settings
Frying set-
Temperature
ting
high
max
medium high
med
low - medium
low
low
min
Setting the sensor frying system
Select the appropriate frying setting from the table. Put the pan
on the hotplate.
The hotplate must be switched off.
Touch the S symbol. The
1.
The possible frying settings appear in the display menu.
PLQ
ORZ
PHG
PLQ
ORZ
PHG
Frying table
The table shows which frying setting is suitable for which dish.
The frying time may depend on the type, weight, thickness and
quality of the food.
Escalope, plain or breaded
Meat
Fillet
Chop
Cordon bleu schnitzel
Steaks, rare (3 cm thick)
Steaks medium or well done (3 cm thick)
Poultry breast (2 cm thick)
Sausages, pre-boiled or raw
Hamburgers/rissoles
Meat loaf
Strips of meat, gyros
Minced meat
Bacon
* Place in a cold pan
10
Suitable for
e.g. potato fritters, roast potatoes and rare steaks.
e.g. thin food, such as escalope, frozen breaded products, strips of meat, vegetables
e.g. thick food, such as rissoles and sausages, fish
e.g. omelettes, food fried in butter, olive oil or margarine
in the display lights up.
'
PD[
PD[
Both availability and whether it is possible to order online differ
between countries.
The frying settings given below have been adjusted to the
system pans.
Note: The sensor frying system may also work with other pans.
Test the pans first with low frying settings, changing as
necessary. The pans may overheat on high frying settings.
Within the next 10 seconds, turn the hotplate control until the
2.
desired frying setting lights up.
The sensor frying system is activated. The large dual-circuit
hotplate is switched on automatically.
PLQ
PLQ
V
The temperature symbol remains lit until the frying temperature
is reached. Then a signal sounds. The temperature symbol
goes out.
Add the fat and then the food to the pan.
3.
Turn as you normally would to prevent burning.
When the meal is ready:
Switch off the hotplate control and remove the pan from the
hotplate.
The frying settings given are for the system pans. The frying
settings may vary if you use different pans.
ORZ
PHG
PD[
ORZ
PHG
PD[
Frying set-
Total frying time after the sig-
ting
nal sounds
med
6-10 minutes
med
6-10 minutes
low
10-17 minutes
low
15-20 minutes
max
6-8 minutes
med
8-12 minutes
low
10-20 minutes
low
8-20 minutes
low
6-30 minutes
min
6-9 minutes
med
7-12 minutes
med
6-10 minutes
min
5-8 minutes
V
