Cisco 7962 Skrócona instrukcja obsługi - Strona 2

Przeglądaj online lub pobierz pdf Skrócona instrukcja obsługi dla Telefon IP Cisco 7962. Cisco 7962 4 stron. Telephone and voicemail
Również dla Cisco 7962: Podręcznik użytkownika (6 strony), Podręcznik użytkownika (6 strony), Podręcznik użytkownika (4 strony), Podręcznik użytkownika (3 strony), Podręcznik referencyjny (2 strony), Podręcznik użytkownika (6 strony), Podręcznik użytkownika (4 strony), Podręcznik użytkownika (13 strony), Podręcznik użytkownika (13 strony), Skrócona instrukcja obsługi (2 strony), Skrócona instrukcja obsługi (3 strony), Skrócona instrukcja obsługi (9 strony), Podręcznik użytkownika (2 strony), Podręcznik szkoleniowy użytkownika (2 strony), Skrócona instrukcja obsługi (7 strony), Podręcznik użytkownika (9 strony), Skrócona instrukcja obsługi (7 strony), Skrócona instrukcja obsługi (6 strony), Podręcznik użytkownika (2 strony), Skrócona instrukcja obsługi (3 strony), Skrócona instrukcja obsługi (2 strony), Ściągawka (3 strony), Skrócona instrukcja obsługi (2 strony), Skrócona instrukcja obsługi (2 strony)
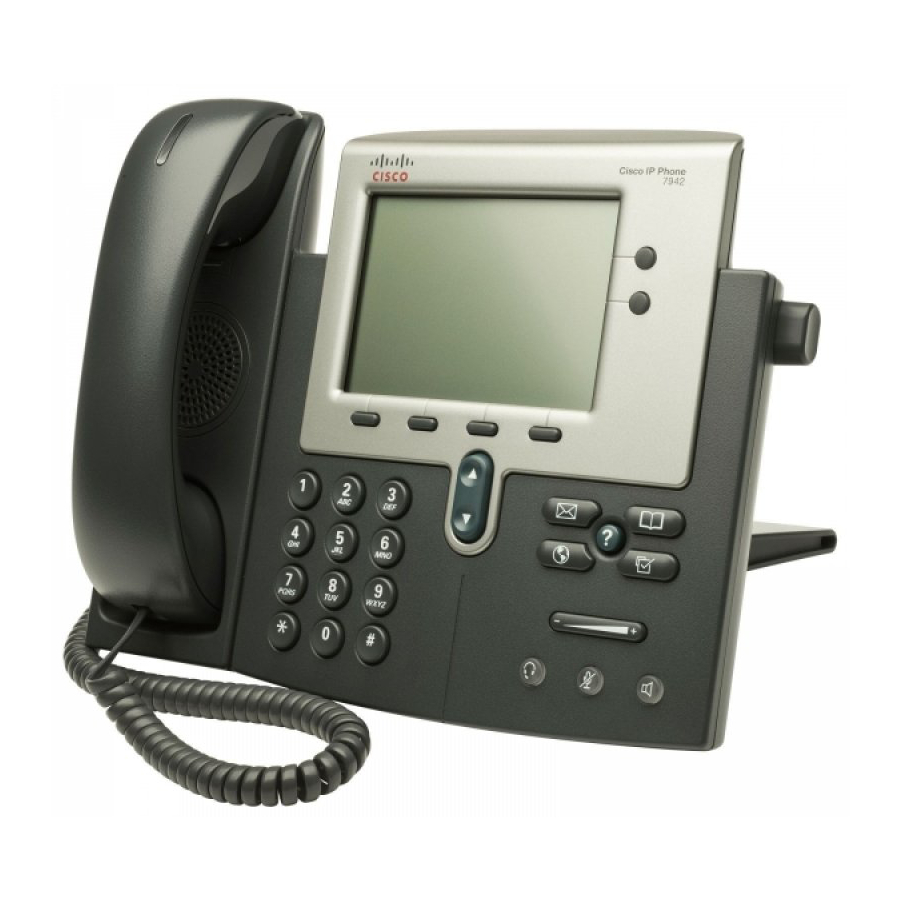
Cisco 7962 Skrócona instrukcja obsługi
TO PLACE A CALL
Dial Tone — Lift Handset, press the
button, or the
New Call
softkey then dial number.
Pre-Dial — Dial number you wish to call then lift Handset, press the
Speaker
button,
Line
button,
Internal Calls — Dial the 7-digit extension number.
External Calls — Dial 8 + telephone number
Local — 8 + 7-digit number
Inter-Island — 8 + 1 + 808 + 7-digit number
Long Distance — 8 + 1 + 10-digit number
Emergency Calls — Dial 911 or 8 + 911
To leave a message directly in a voicemail box (does not ring phone), dial
*
+ extension
ANSWER A CALL
1. While your phone is ringing, Lift Handset, press the
button,
Headset
button, or the
1. DC adaptor port (optional)
2. AC-to-DC power supply
(optional)
3. AC power cord (optional)
4. Network port (connects to
the wall or network switch
5. Access port (connects to a
computer or laptop device
6. Handset port
7. Headset port
8. Auxiliary port (used to con-
nect an add-on module
Speaker
button,
Line
button,
Headset
button, or the
Dial
softkey.
Speaker
button,
Answer
softkey.
2
DoE— Kahuku HIS 7/2014
VOICEMAIL ACCESS
From Your Phone
1. Press the
2. Follow prompts
From Another Phone
1. Press the
2. At the greeting, press
3. Enter your mailbox number (extension number), followed by #
4. Enter your PIN number, followed by #
5. Follow Prompts
From Off Property (Cell Phone / Home Phone)
1. Call your DID number or Main Number.
2. At your greeting, press
3. Enter your mailbox number (extension number), followed by #
4. Enter your PIN number, followed by #
5. Follow Prompts
VOICEMAIL SETUP
To Enroll with Voicemail (first use)
1. Press the
2. Enter the first time enrollment initial PIN = 97531, followed by #.
3. Follow the prompts to enroll:
Record your name - press # after stating your name
Record your Standard Greeting - press # after recording your greeting
Headset
Set a new PIN number. The minimum length is 4 digits. You can not
use your last PIN. Your PIN expires in 365 days (1 year).
Notes:
Your Deleted mail is discarded after three days.
You will be locked out of your mailbox with 5 consecutive invalid attempts.
If you are locked out, your mailbox will be locked for 10 minutes.
Trivial (easy) PIN numbers are not allowed. The system will notify you if
your selected PIN is accepted or not.
VOICEMAIL INDICATIONS
1. Handset light strip will be solid red.
2. Flashing envelope icon
3. "You Have VoiceMail" will be displayed on the line of information in your
LCD screen.
Line
VOICEMAIL
Messages
button or dial
1608000.
Messages
button or dial 1608000.
*
*
Messages
button.
next to line button.
7
DoE— Kahuku HIS 7/2014