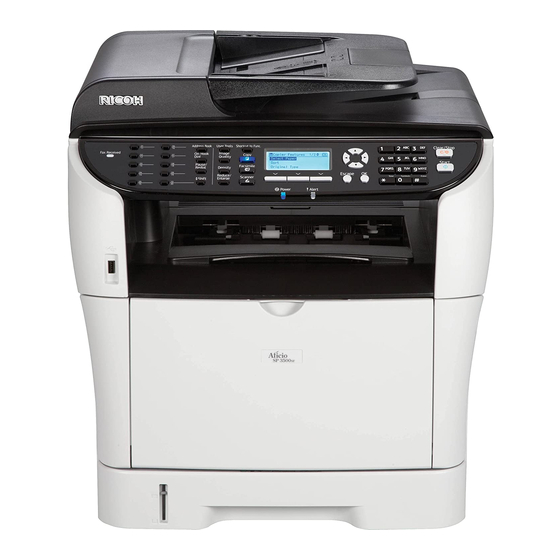
Ricoh Aficio MP C4000SPF Podręcznik najlepszych praktyk - Strona 6
Przeglądaj online lub pobierz pdf Podręcznik najlepszych praktyk dla Drukarka Ricoh Aficio MP C4000SPF. Ricoh Aficio MP C4000SPF 25 stron. Microsoft print server environments
Również dla Ricoh Aficio MP C4000SPF: Funkcje Podręcznik (27 strony)

The SNMP status needs to be enabled and the community name needs
to match the setting on your printer.
Enable Bidirectional Support. (Ricoh's recommendation is to always
enable bidirectional support).
The SNMP Status box will be unchecked when the port is created
while the printer is not on the network (staging) and the bidirectional
function is also disabled because of this. (Ricoh's recommendation is
to always enable bidirectional support).
Do not use existing ports created for other manufacturer's drivers.
(Settings like Bidirectional support may be disabled when doing so.
Create new ports for Ricoh devices and all other devices when you
install them).
5.1
Windows 7, Server 2008 R2
Step 1 Log in to Windows as an Administrator.
Step 2 Close any open applications.
Step 3 From the "Start" menu, select "Devices and Printers" > "Add a Printer".
Step 4 The "Add a Printer" dialogue will be displayed asking "What type of
printer do you want to install?" Select "Add a local printer".
Step 5 The "Choose a printer port" dialogue will be displayed. Create a new
"Standard TCP/IP Port" and click "Next".
Step 6 Enter the "Device" IP address and uncheck "Query the printer and
automatically select the driver to use". Click "Next".
Step 7 The "Install the printer driver" dialogue appears. Click "Have Disk".
Step 8 Browse to the folder containing the driver files (typically the CD-ROM or
an extracted archive downloaded from the website) and click "OK".
Step 9 Follow the rest of the Wizard's instructions to complete the installation.
5.2
Windows 2000, XP, 2003, Vista, 2008
Step 1 Log in to Windows as an Administrator.
Step 2 Close any open applications.
Step 3 Open "Printers and Faxes from the Start menu.
Step 4 Select "Add Printer".
Step 5 "Welcome to the Add Printer Wizard" is displayed. Click "Next >".
Step 6 The "Local or Network Printer" dialogue is displayed. Select "Local
printer attached to this computer" and click "Next >". Note: Do not enable
"Automatically detect and install my Plug and Play printer".
Step 7 The "Select a Printer Port" dialogue is displayed. Select "Create a new
port" > "Standard TCP/IP Port" as the port type and click "Next >".
Step 8 The "Add Standard TCP/IP Printer Port Wizard" is displayed. Click "Next
>".
Step 9 Enter the device IP address or hostname and click "Next >".
6
