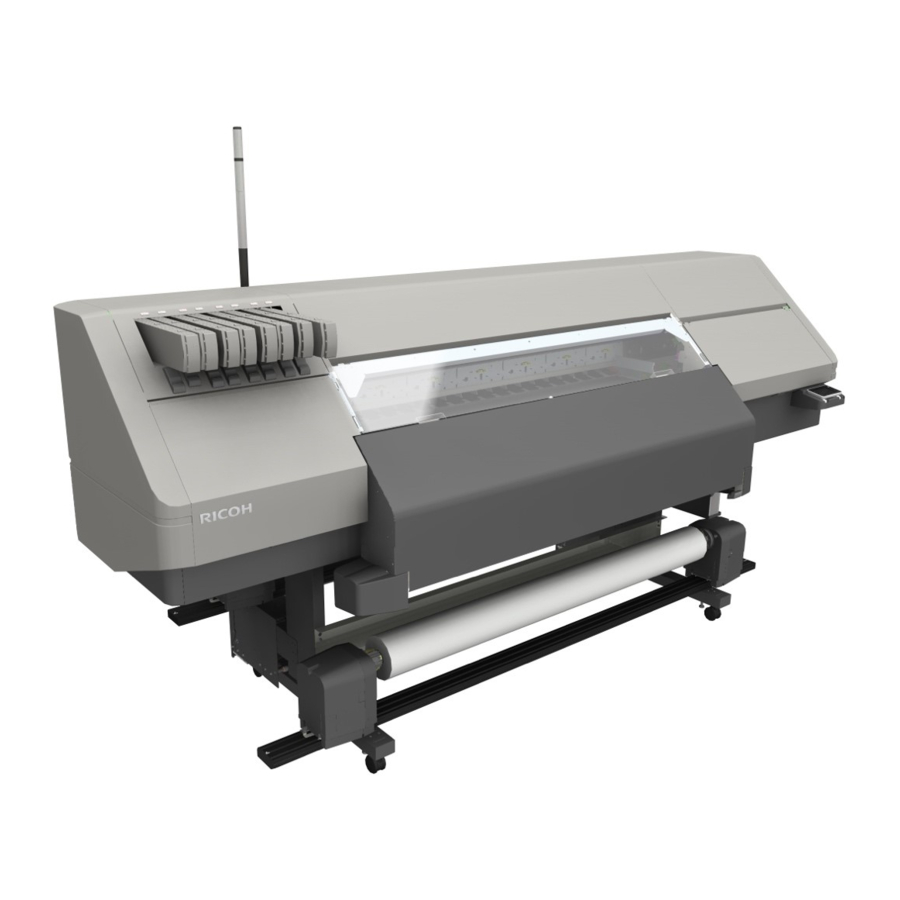
Ricoh Pro L5160 Instrukcja ustawień zgrywania - Strona 11
Przeglądaj online lub pobierz pdf Instrukcja ustawień zgrywania dla Drukarka Ricoh Pro L5160. Ricoh Pro L5160 44 stron. Additional function 2
Również dla Ricoh Pro L5160: Podręcznik z informacjami dotyczącymi bezpieczeństwa (32 strony), Quick Start Quide (32 strony), Podręcznik (12 strony)

Installing the Software
1.
Plug the USB hardware key ("hardware key") into one of the computer's USB ports.
2.
Plug the USB flash drive into another of the computer's USB ports.
If the Auto Play dialog box appears, select the folder.
3.
In Explorer, open the USB flash drive and double-click "Install_ONYX.exe" to run it.
4.
Click [INSTALL].
5.
Read the end-user license agreement (EULA), and then click [Yes].
6.
To install the hardware key driver, click [OK].
This will take a while.
Depending on the computer's operating environment, Microsoft Visual C++ 2015 Redistributable
may be installed.
7.
Select where to install the file. To install the file on another hard drive, change only the
name of the drive in the path and leave the folder name unchanged.
Example: C:Onyx18
8.
In the Printers area at the bottom right of the window, check the printer to be used.
9.
Click [Install] to start installation.
This will take a while.
After the web browser opens and the description on the UAC and administrator privileges appear,
close the browser.
10.
Once installation is complete, click [Finish].
RIP-Queue automatically starts.
11.
If the wizard to register myonyx appears, click [Next] to register or [Cancel] to skip
registration.
12.
On the "Configure Printer Port" window, select "TCP/IP Printer" and then click
[Configure].
13.
In "IP address", enter the printer's IP address or host name.
14.
Make sure that "Port Number:" is <Port52026>.
15.
Click [Test] to test the connection.
If correctly connected to the printer, a message reporting that a valid IP address has been found
appears. If the connection test fails, set the printer to a status with "Ready" displayed on its control
panel and retry the connection test.
16.
Click [OK] twice.
Installation of RIPCenter/PosterShop is now complete.
D:Onyx18
Installing the Software
9
